A solid house needs a good foundation. Just like a house, a good outside skating trail needs a solid, and most importantly, a level foundation. Water is flat. Ice can be shaped. But water is flat.
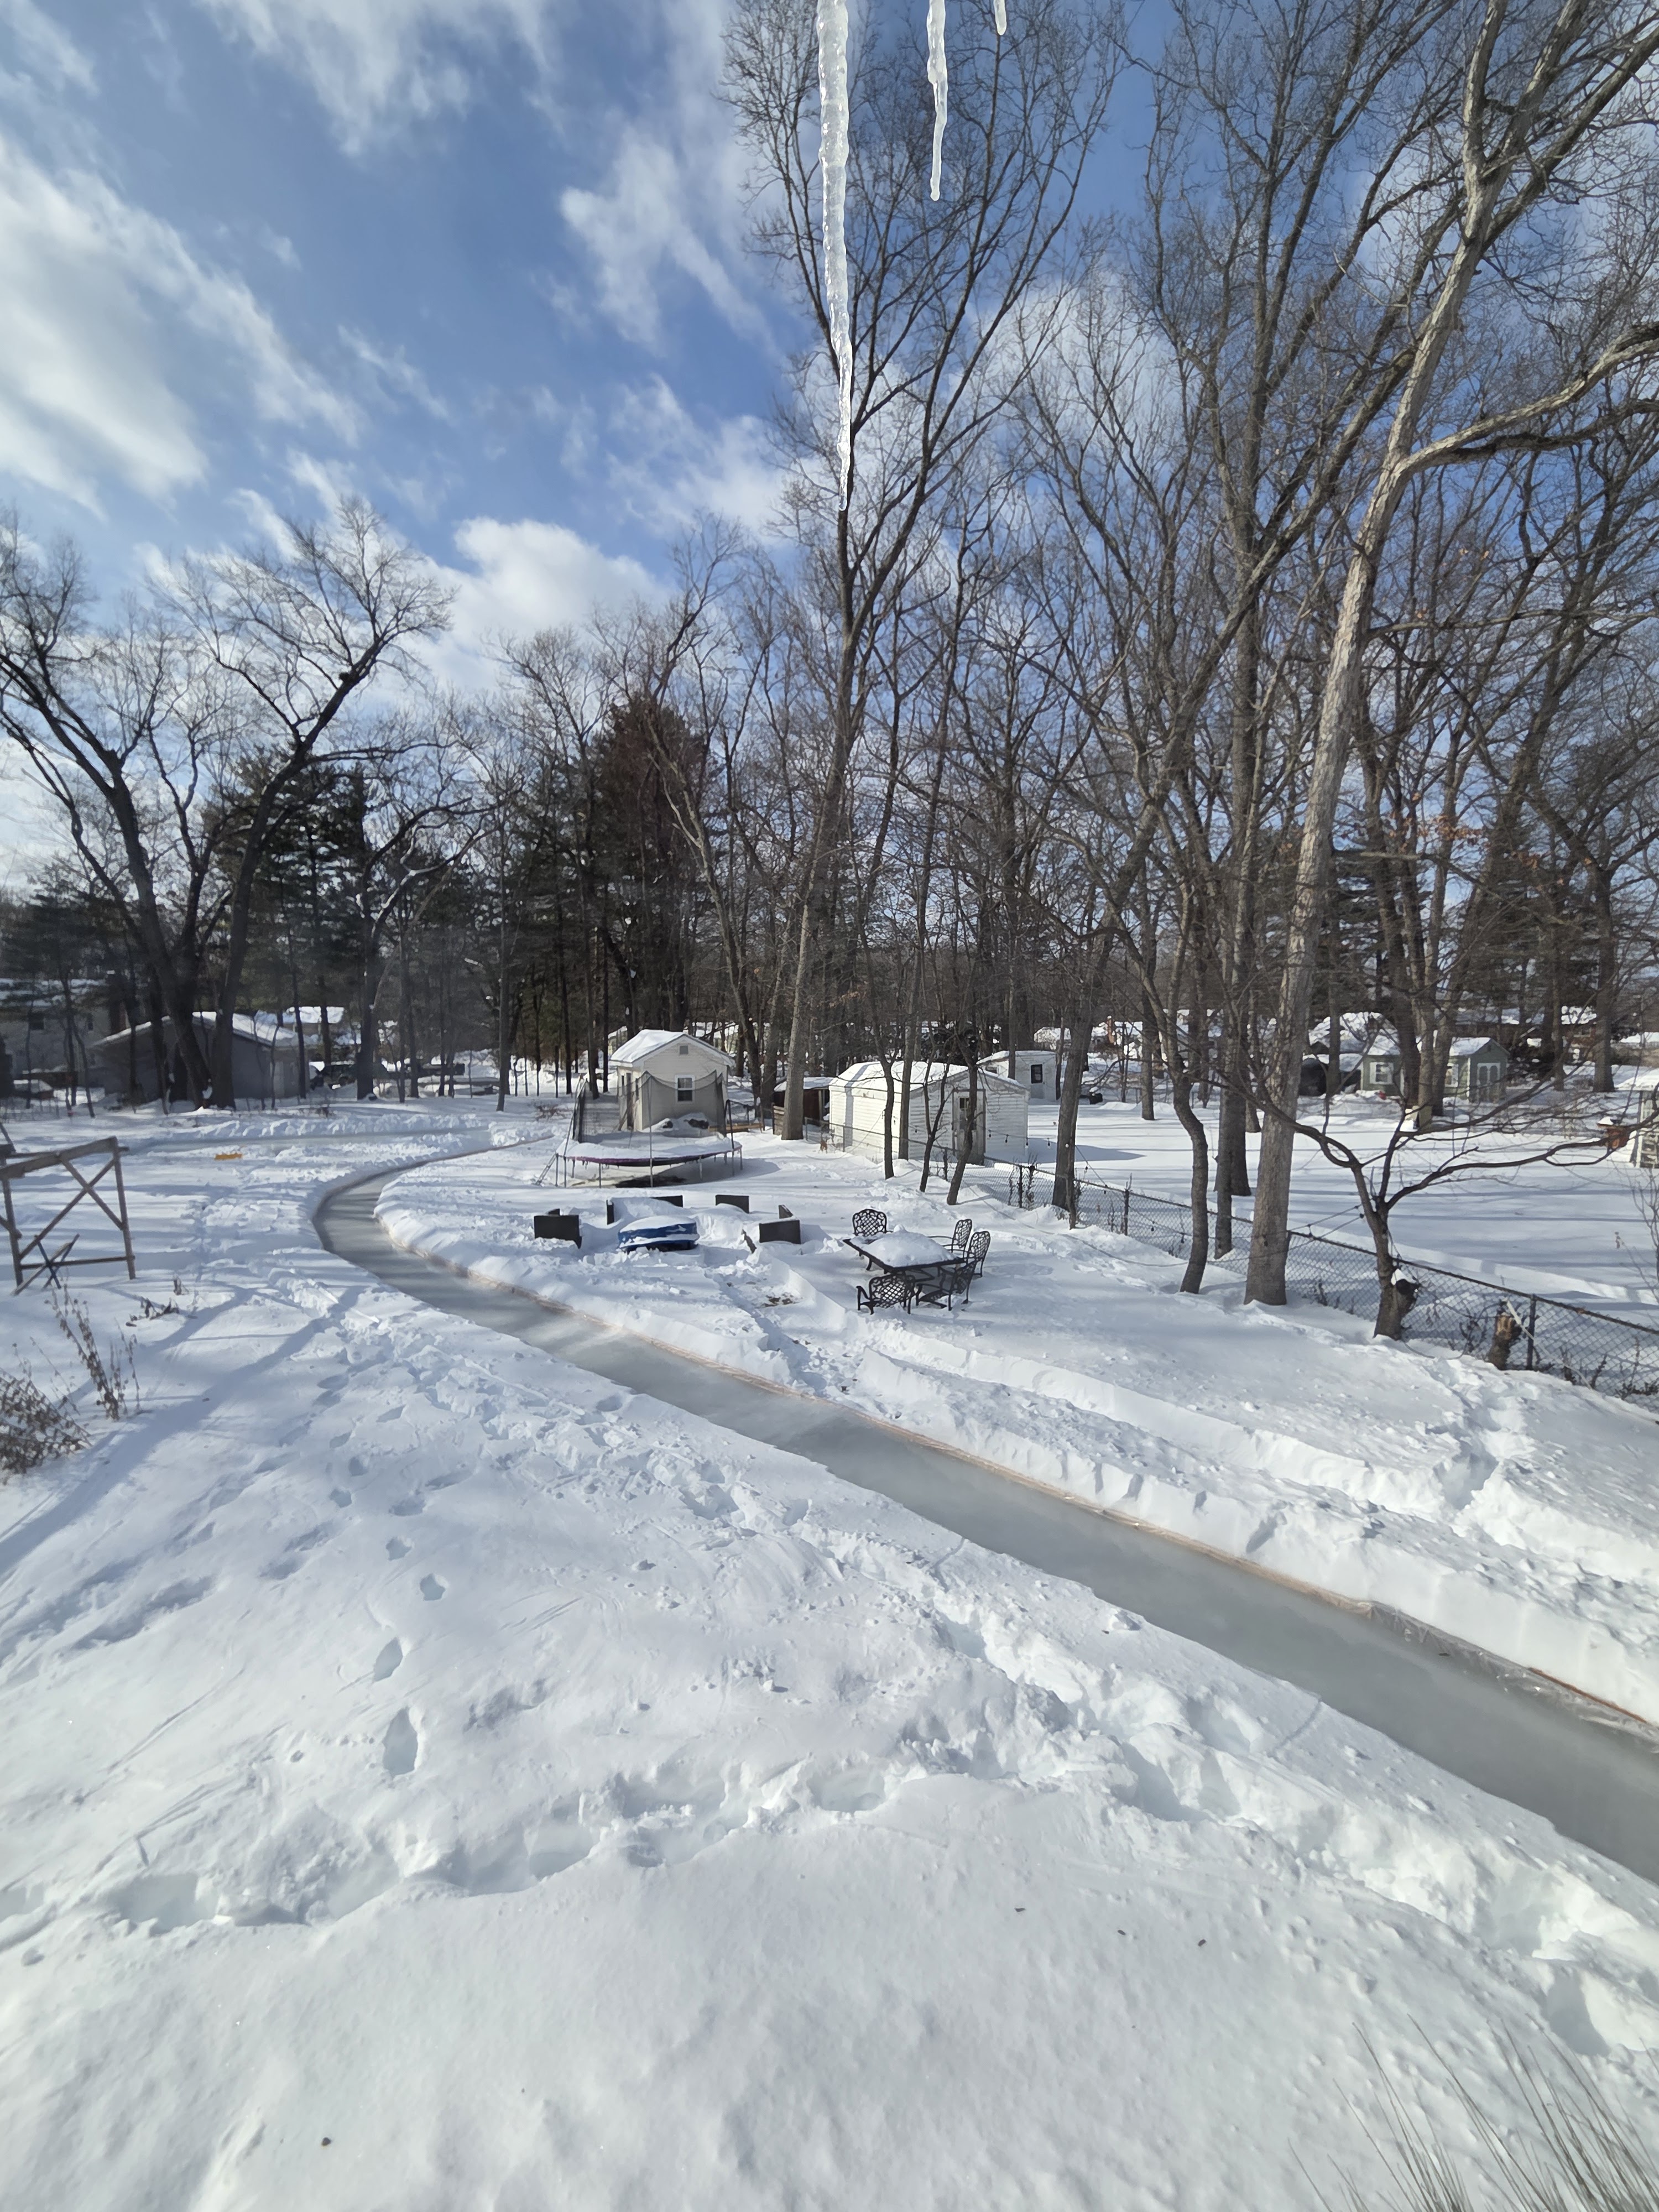
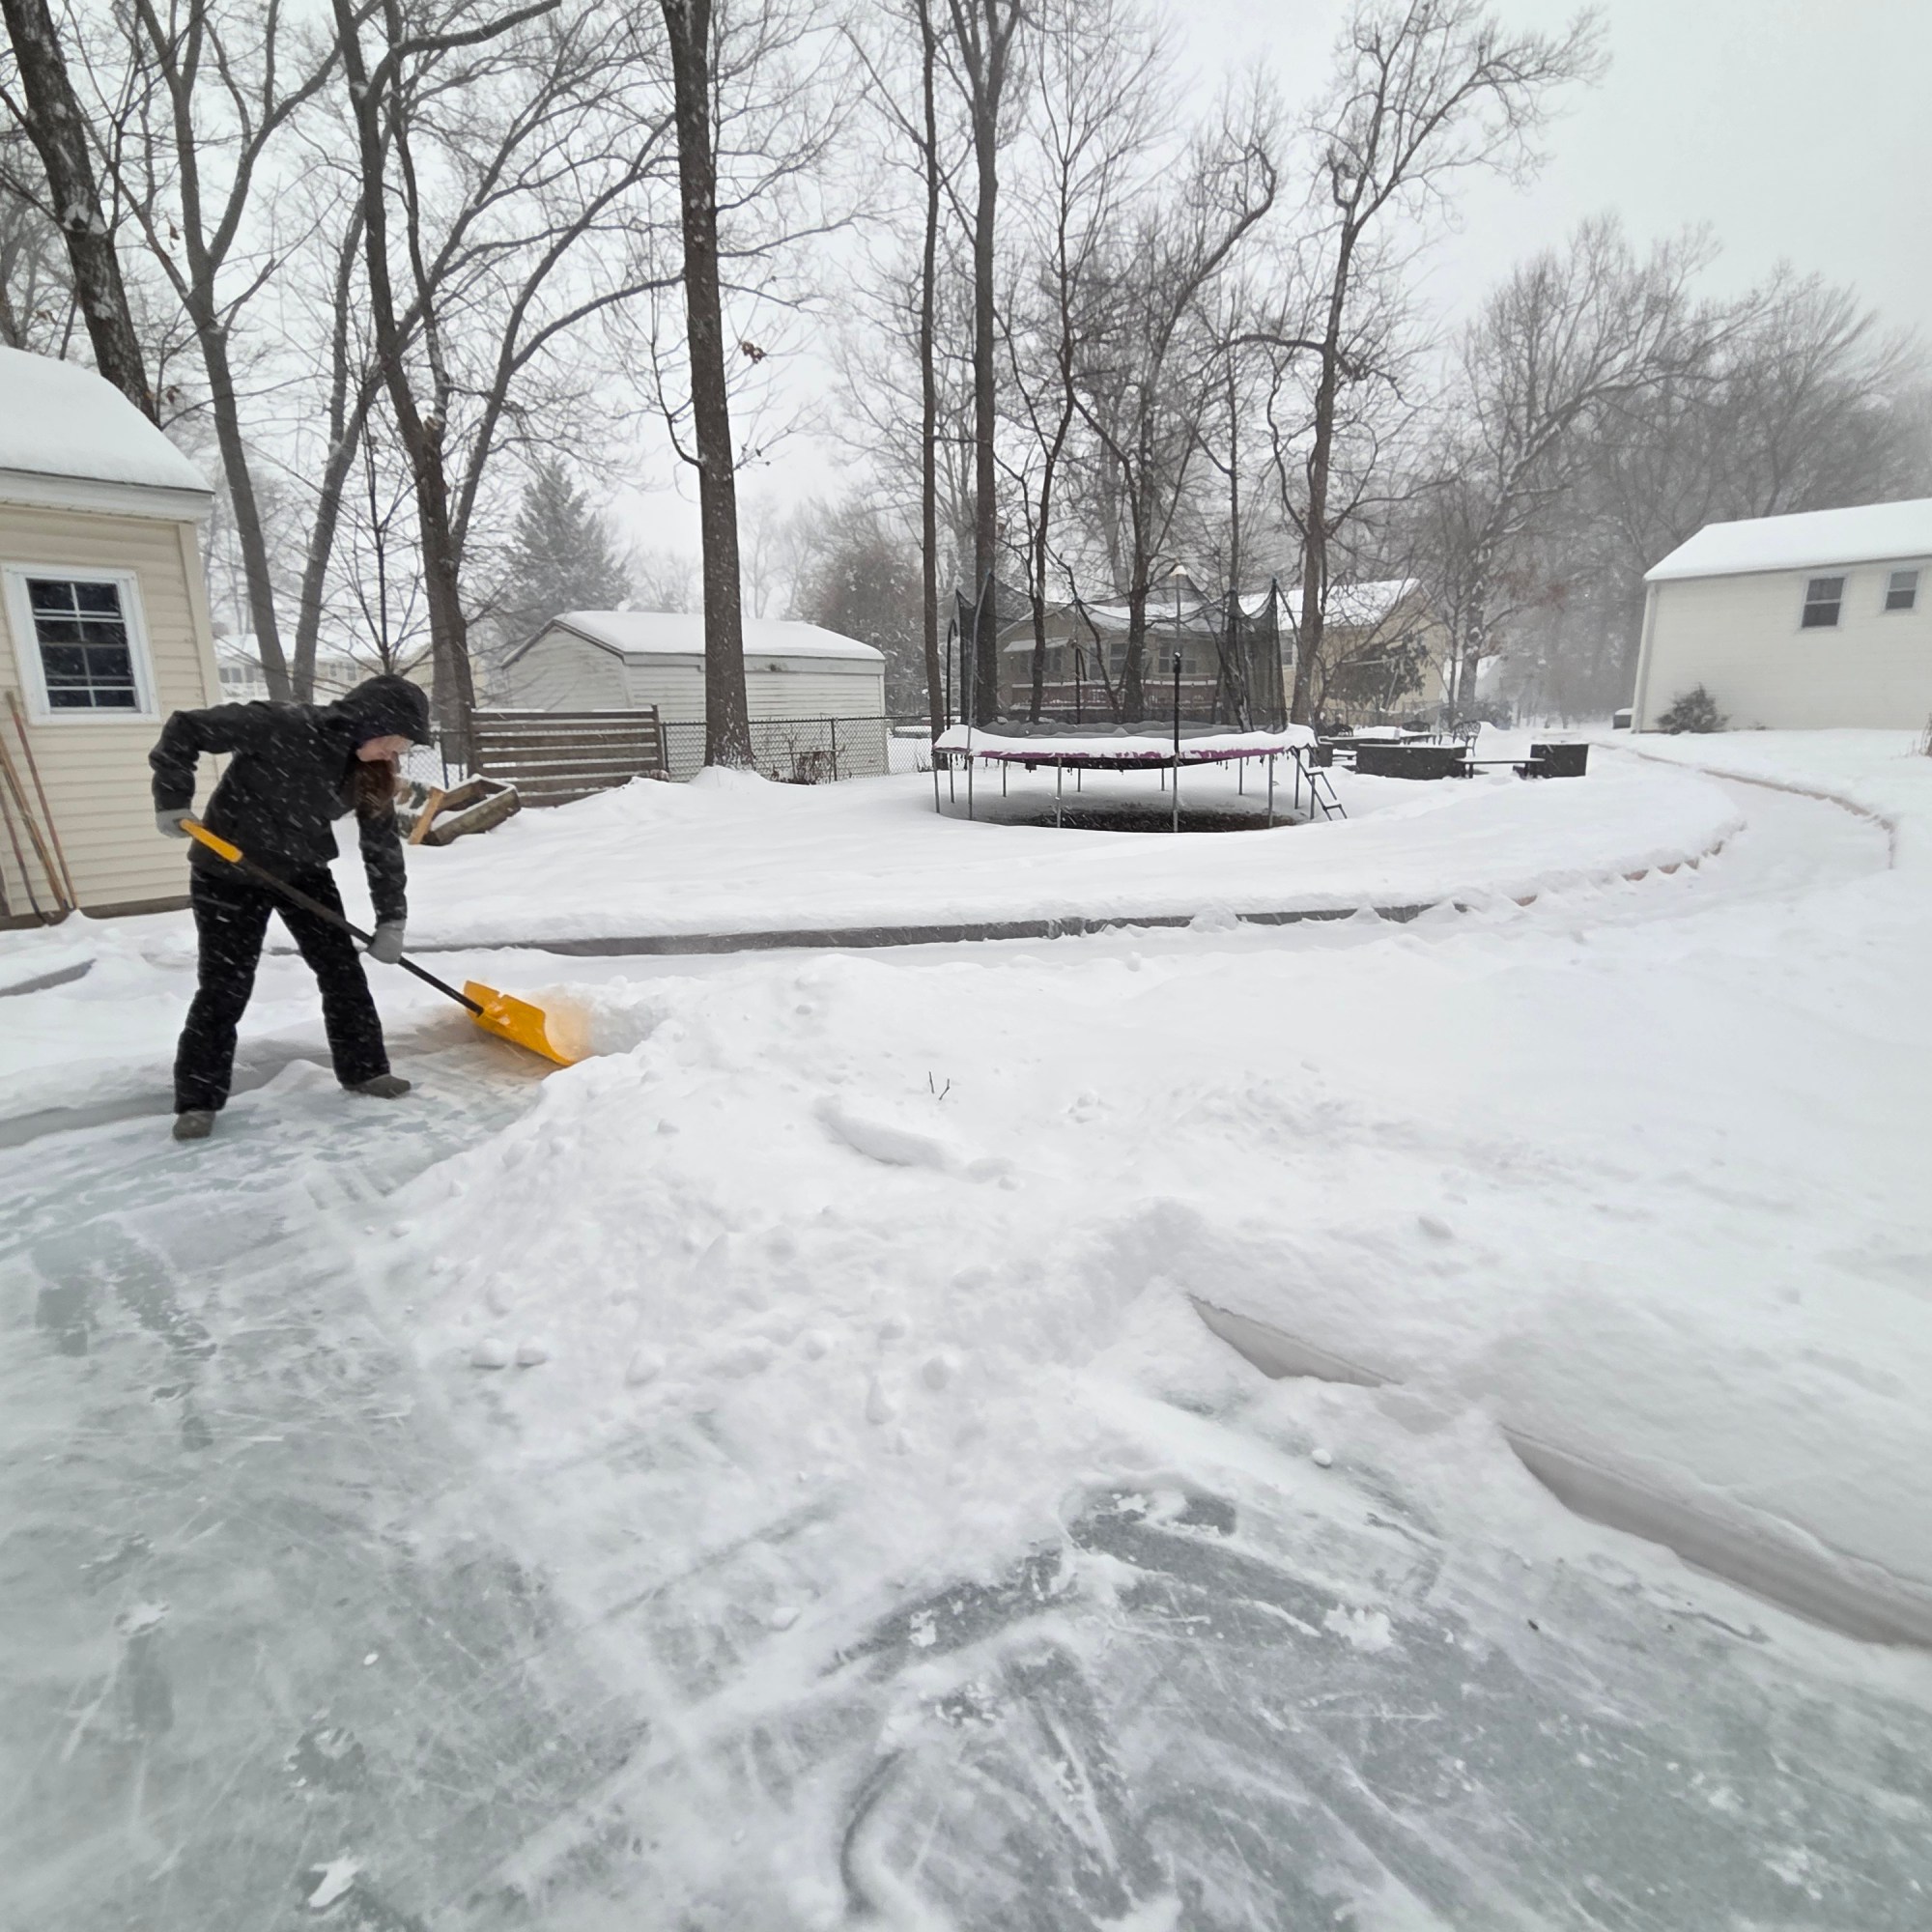
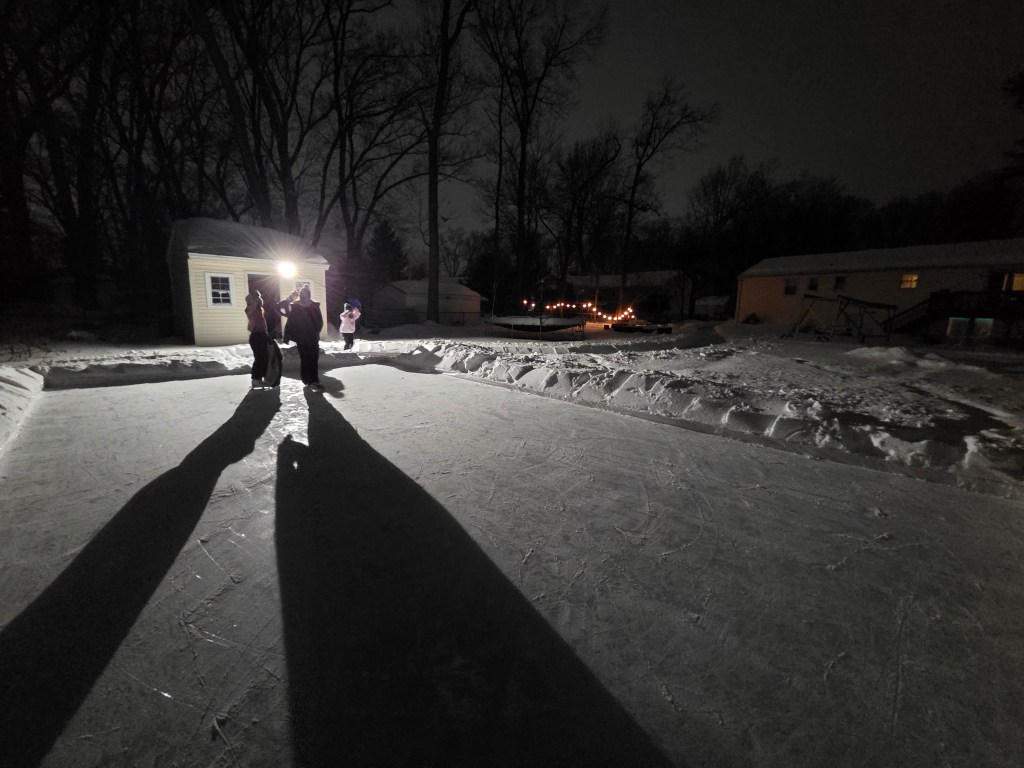
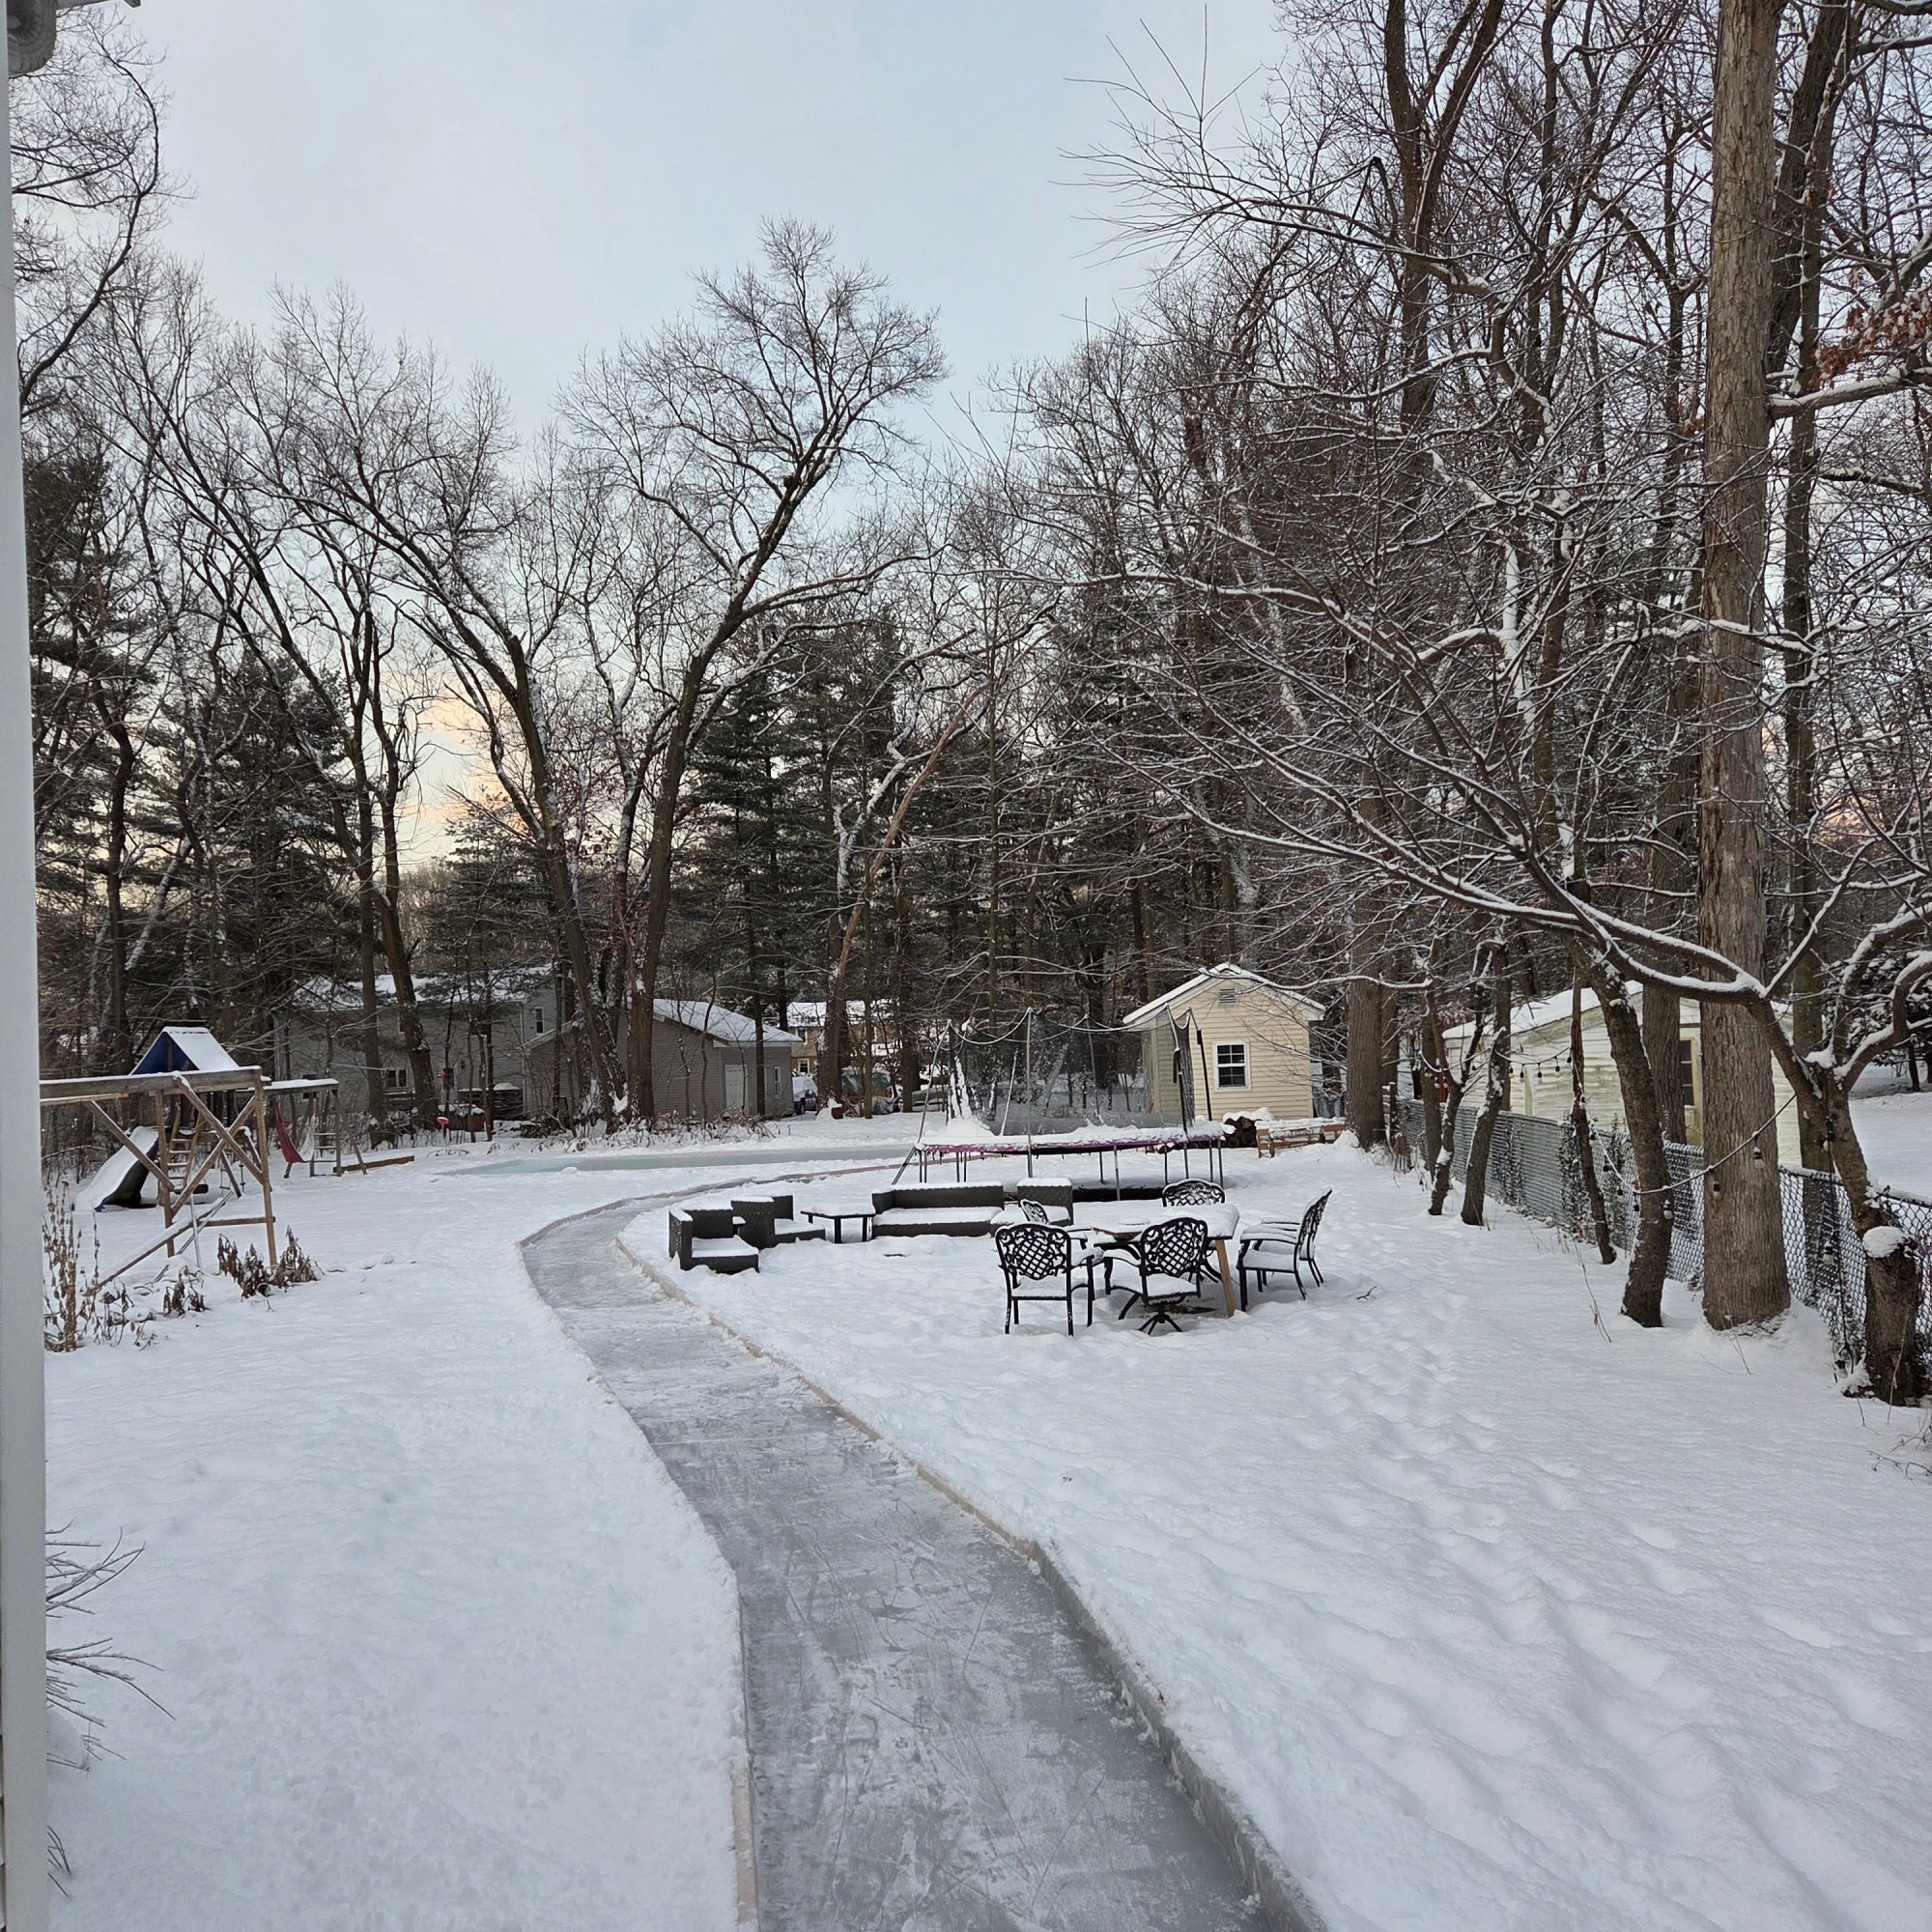
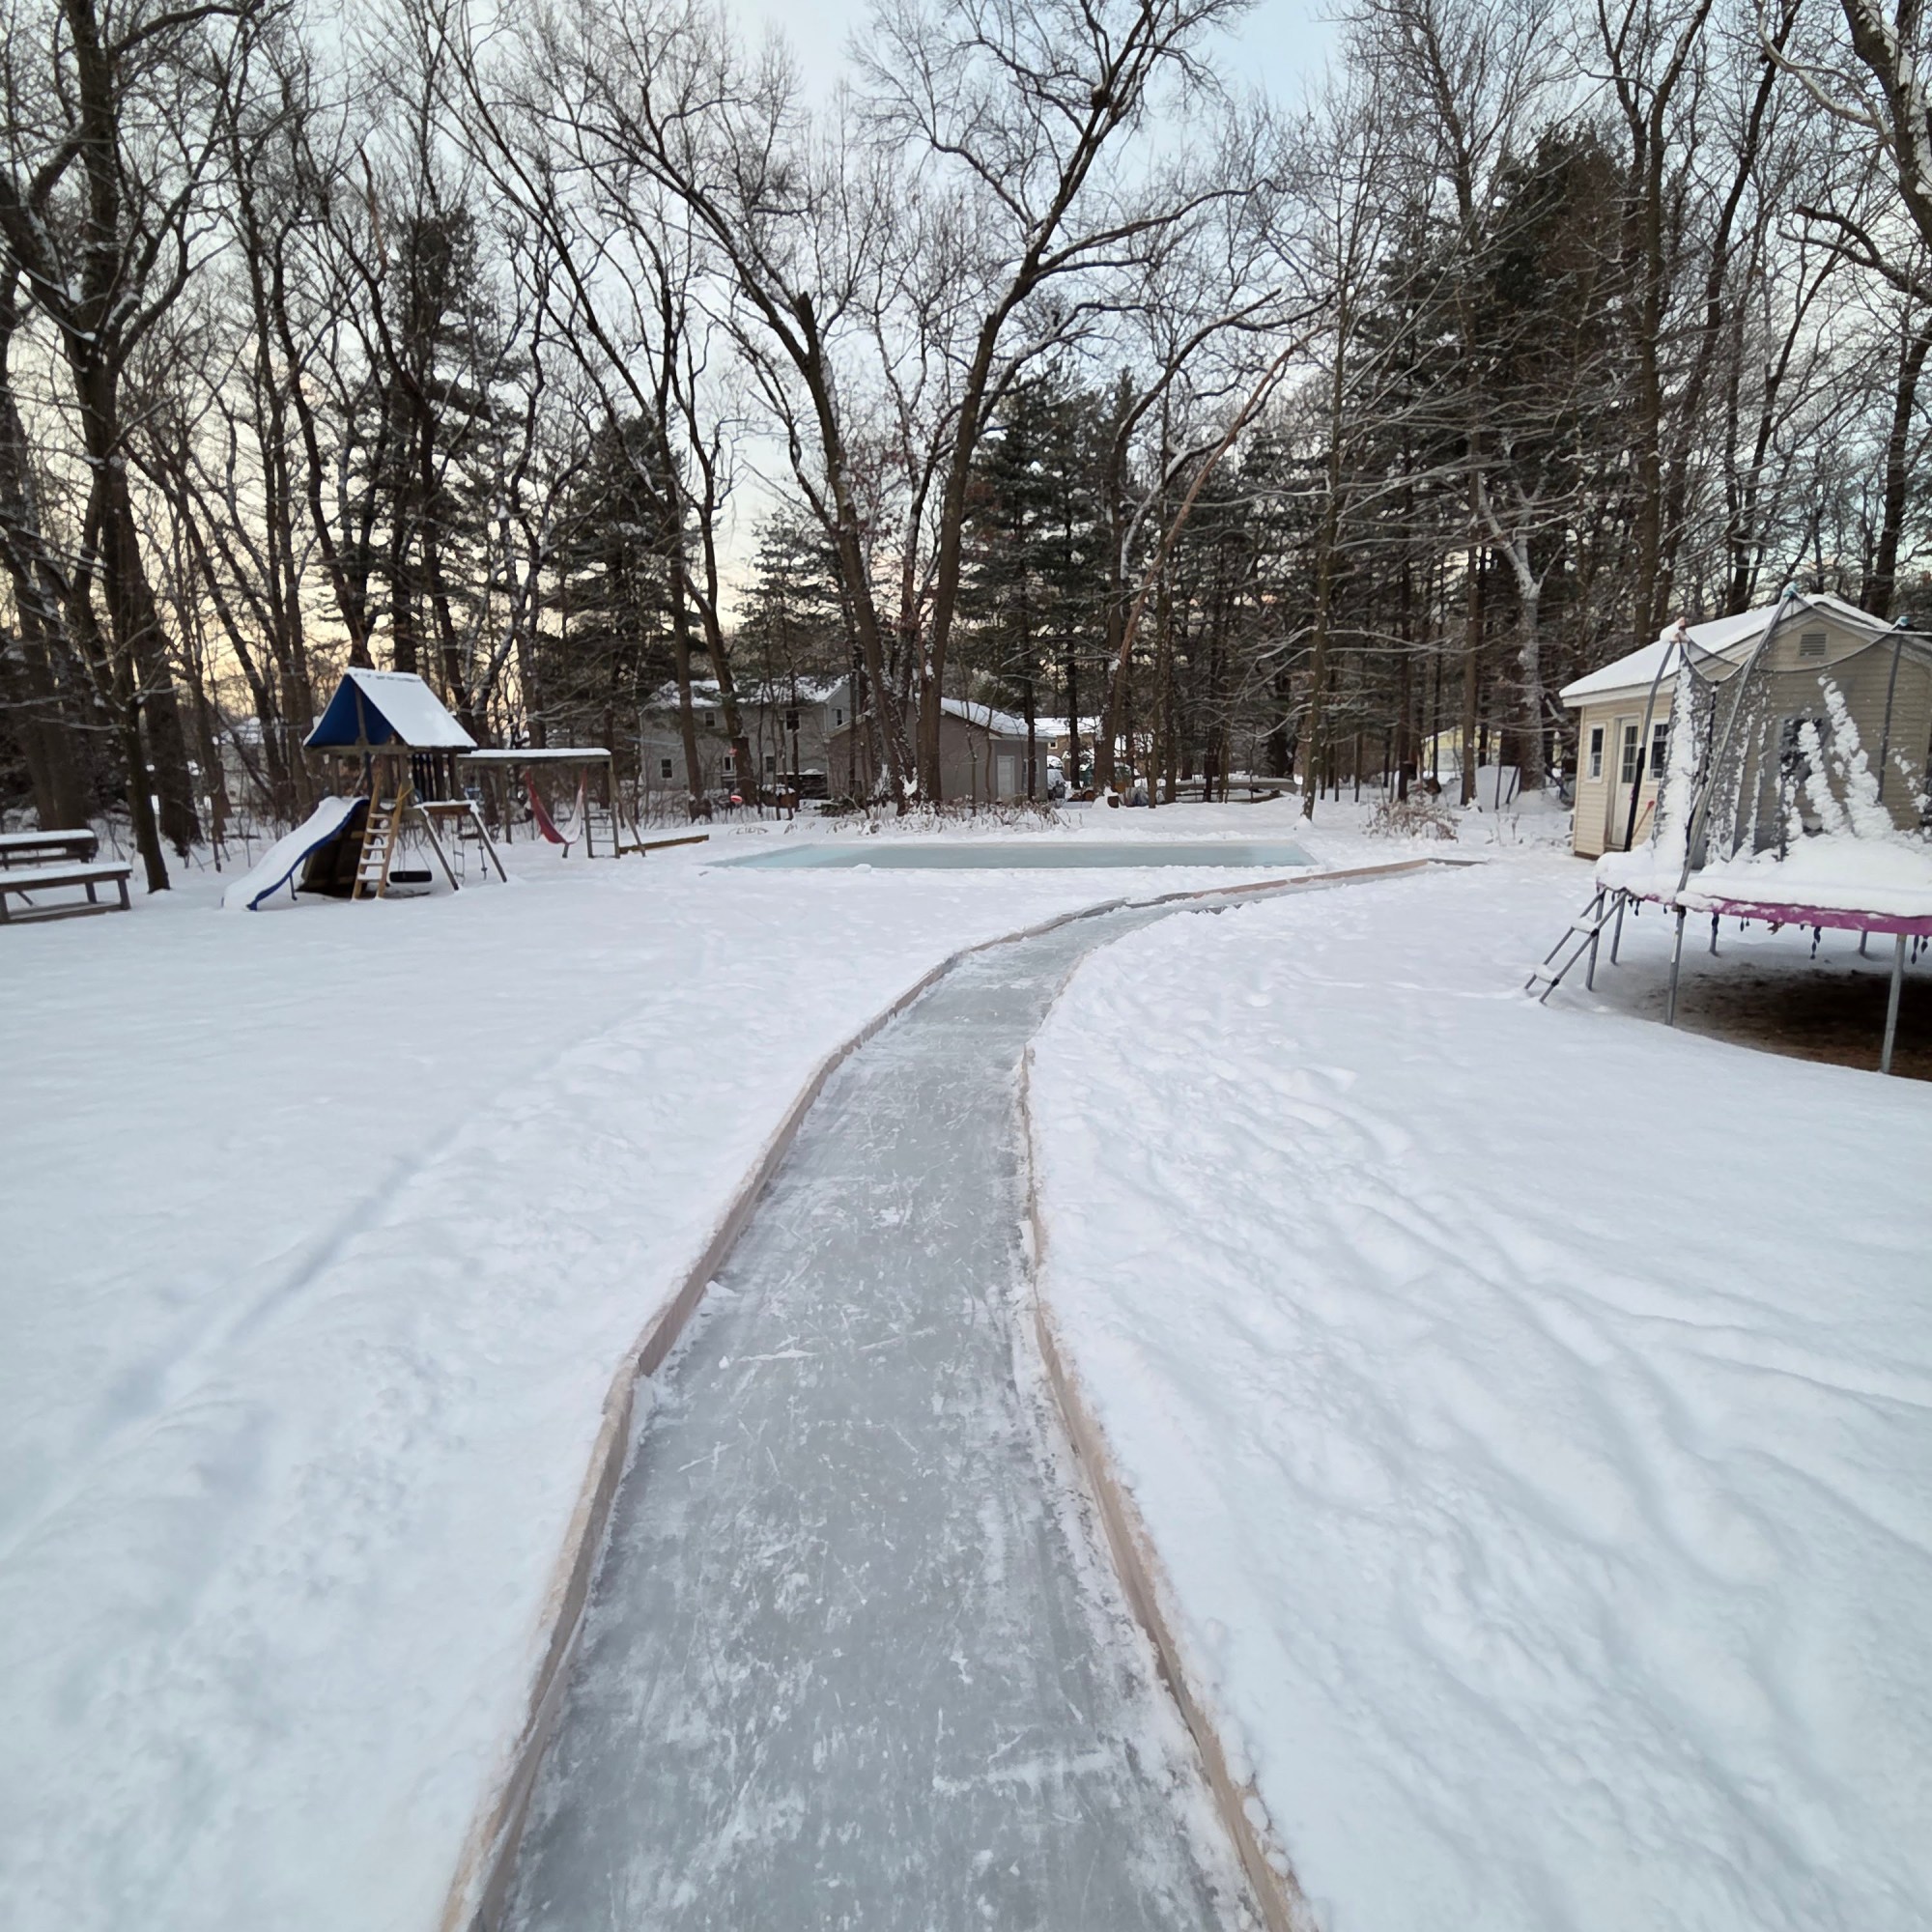
A 150ft trail from the garage to the ice rink.
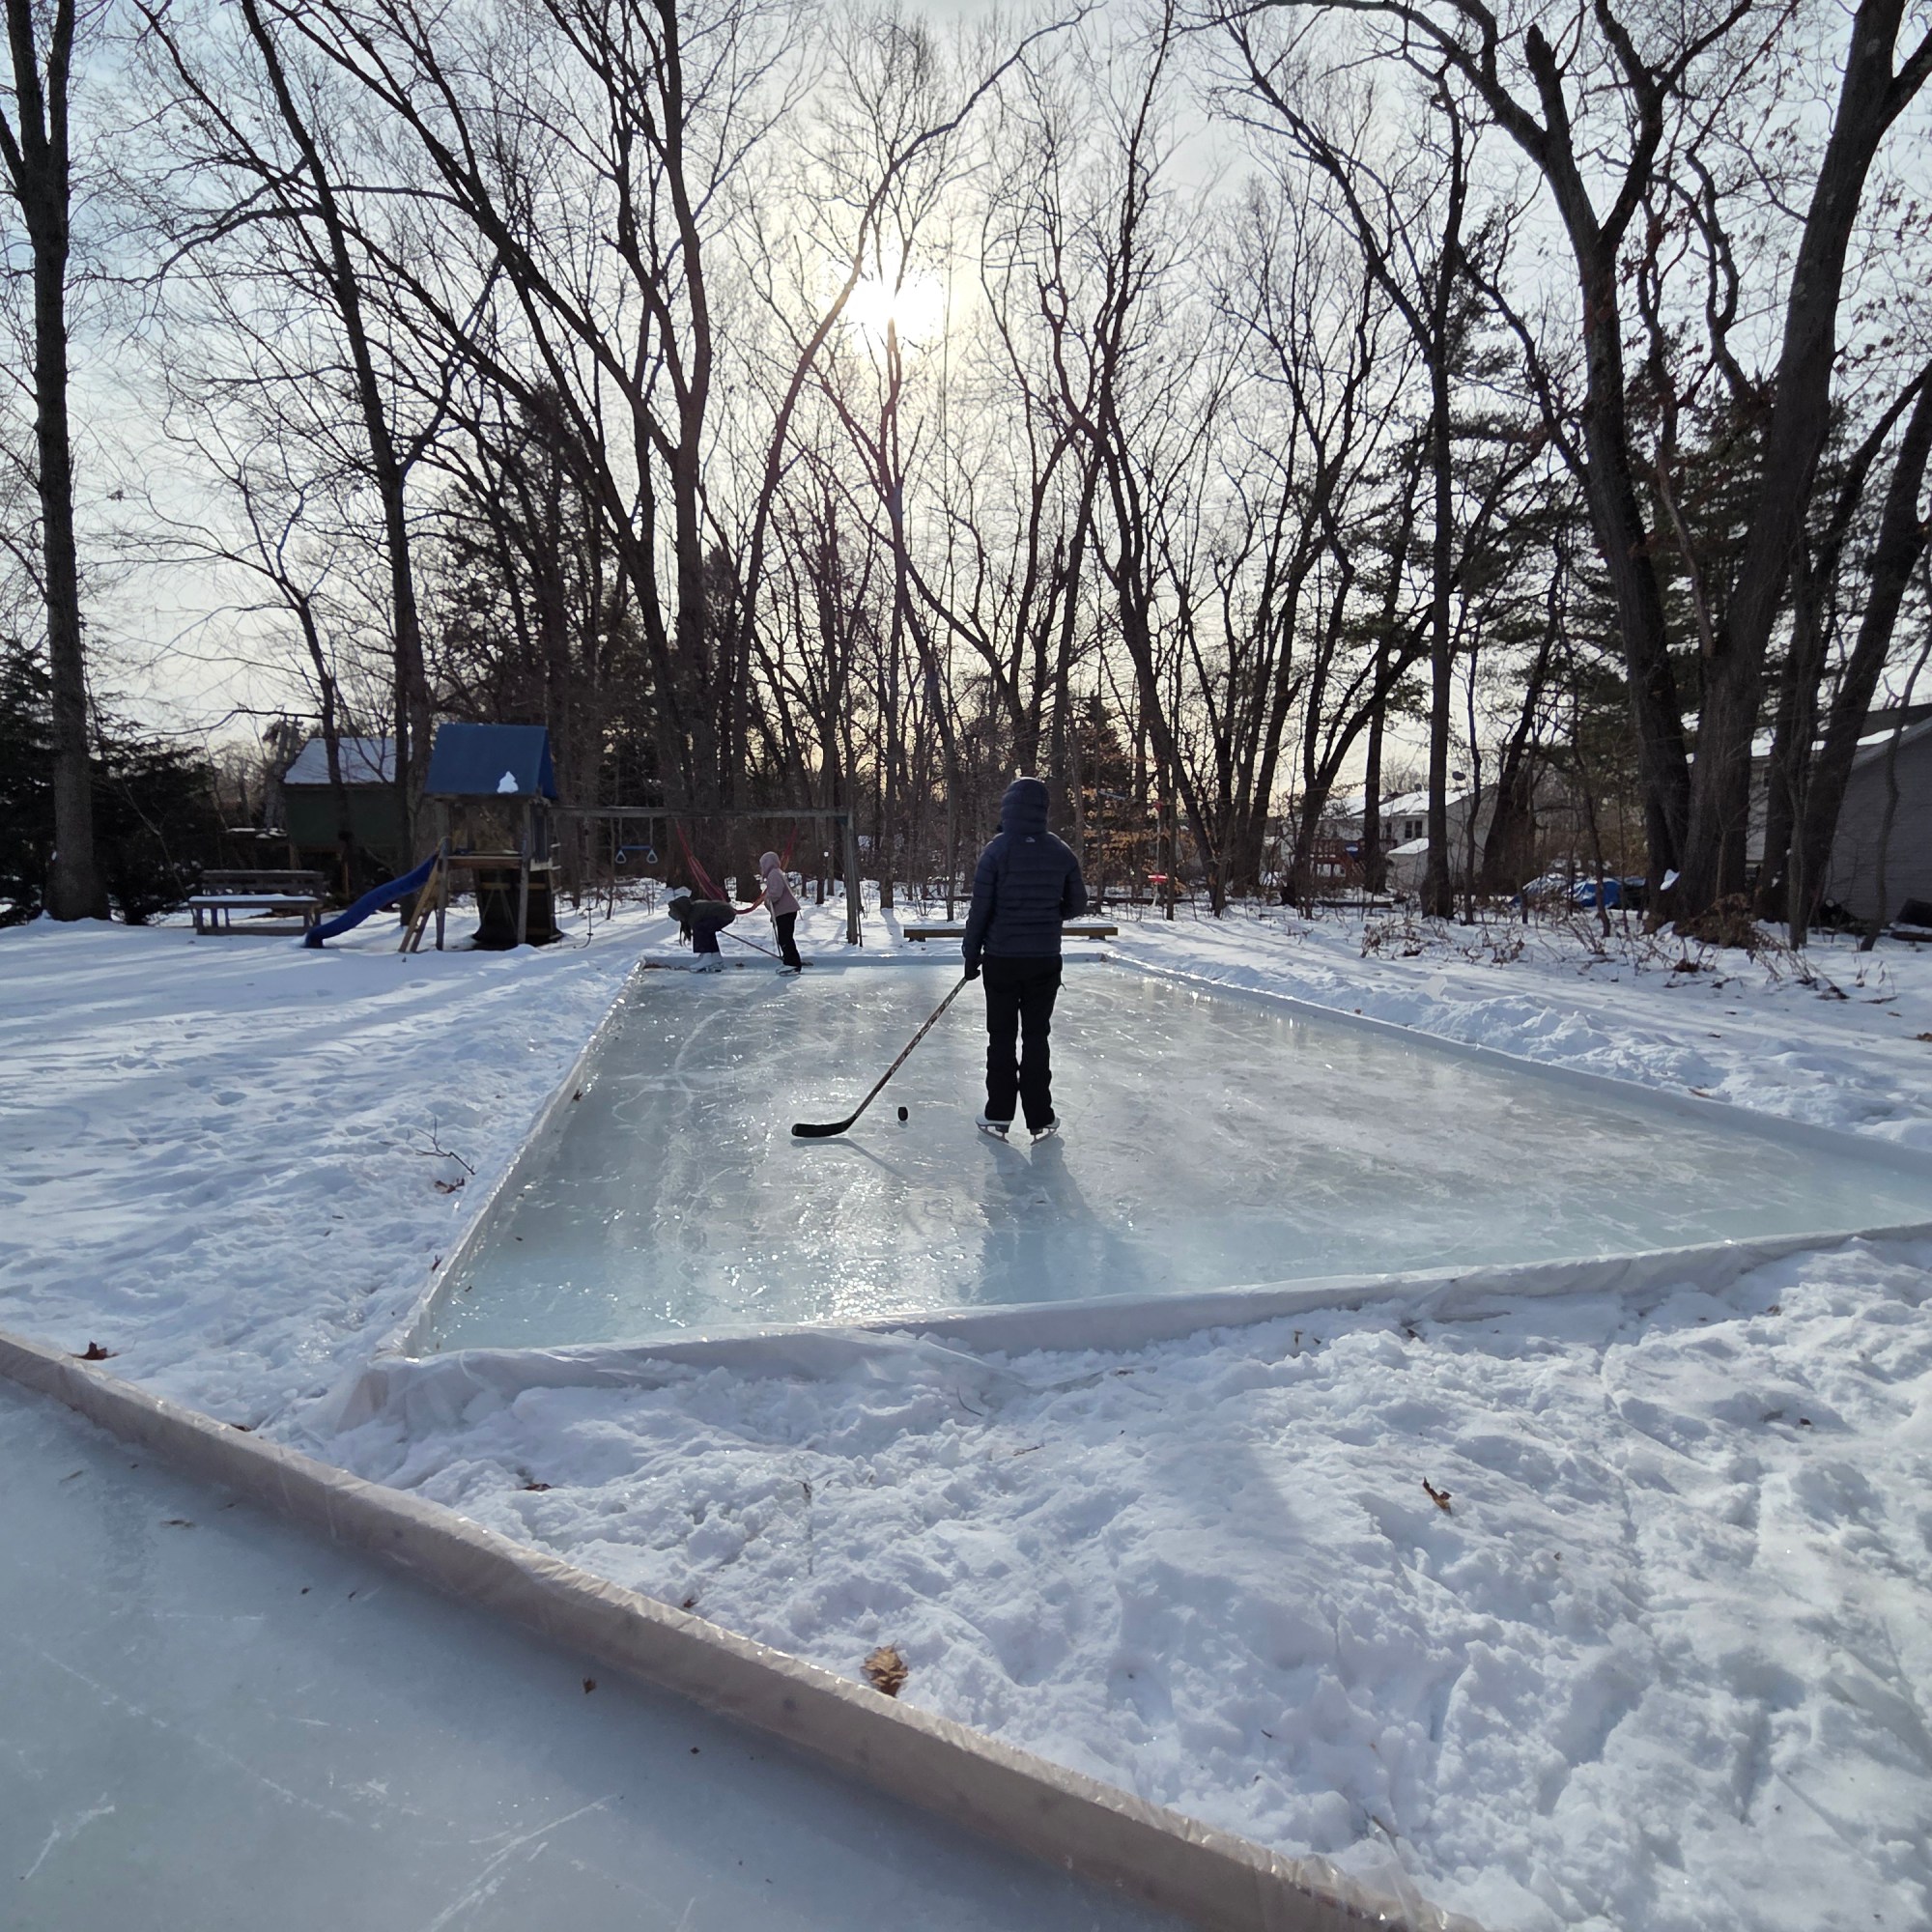
This is my second year building an ice skating trail – and fourth year building an outdoor skating rink. My father has been at the forefront of helping us build a rink – especially when it comes to leveling and putting the framing together perfectly. He is a perfectionist and the water fills perfectly level along the sides of the boards. When we look at the skating trail later (which I built solo and not perfectly but I am aware of that) I’ll show you what happens when the boards and ground aren’t level, and the solution that worked best for me in this situation.
Last year I began to experiment with a skating trail. I flattened out some snow using a shovel and then glazed it with water and the ‘shower’ hose setting – 3 times a day for a few days! This meant taking the hose outside – spraying the trail for 30 minutes – then bringing the hose back inside. Oh and bundling up each time too. The set up uses up a lot of energy. The sections i’d packed down perfectly actually worked – they got smooth over time and were very stateable. The issue with this method? Well we live in Connecticut – you can go from a month of below zero temps and then have a week of above freezing temps – and the trail will slowly melt back into the ground on the warm days. So if you live in a climate like Connecticut – this method is only good for as long as it stays freezing cold.
As my trail sadly soaked back into the ground – I saw a few days of cold weather in the forecast and decided to try another method – 2×3″ boards with a 6mil plastic sheeting liner. As could easily be predicted – the water collected in al the ‘low’ spots of the yard and the ‘high’ spots didn’t have any water. Water is level. Also, where the water did collect – it wasn’t deep enough – the ice was thin and would break easily. All lessons learned. Pay to go to college? Or pay to learn at home? Also the small 2×3″ boards weren’t mounted into the ground – I’d just placed them down. So they were susceptible to moving very easily.
Fast forward to 2026. Building a trail for the winter months was on my radar again. Connecticut experienced a wonderfully cold December. It was during this cold spell that I was already feeling late to the party. A nearby house builds a rink every year and it was up and running! Since January and February are historically the coldest months in CT, I had a hunch that we’d have 2 good months for ice. A warm spell hit again and that was my green light for building the rink and trail. The ground would be softer for nailing stakes into it – and the temperatures would be more bearable.
Level Ground
It is very important the ground is as level as possible. You don’t want super deep spots where the water won’t freeze all the way – because you’ll end up with a floating ice cube. One end of our trail was much deeper than another side of the trail one year – and the water would come up over the edges of the rink on those sides. You also don’t want super high spots where the water will just be 1-2 inches deep – because that won’t be thick enough ice to skate on. I got lucky and was able to construct 150+ft of trail. However, there’s a section in the middle of the trail that’s the ‘high’ part of the yard – and I’m talking just by a few inches. To save on cost I just got 6″ boards – but 8″ boards would have been a safer bet for being able to fill in the whole trail as one unit.
While the water hadn’t reached the high spots of the trail – it was already overflowing the edges of the trail in the low spots of the trail. Everything is doable – you just have to do it.
Building the Trail
“Do you want help with that?” “That’s not going to fit into your car.” “Oh I thought you were building an A-frame or something.” Apparently a female buying lots of lumber at home depot with a minivan solicits a lot of attention! The comments piled in the minute I left the store. It was actually uncomfortable. And they were actually kind of right… I have no idea how I planned to pack a few dozen 10ft long boards into the van. I didn’t have a plan really – I suppose I shouldn’t go buy wood on a whim. Either way, a nice person helped me load it into his truck and drove it to our house for us. At one point I thought he was going to steal it – right after leaving the parking lot – I didn’t see him following me anymore! That would have stunk. It was an interesting vibe and I will be better prepared next time.
Materials
10ft long x 8″ x 2″ pressure treated pine
10ft long x 6″x 2″ pressure treated pine
6mil poly liner – 3 rolls 100′
16″ – 3/8″ rebar nails
duck tape to merge liner + patch holes
Laying out the trail
Lay out the boards where you plan for the trail to go. Check the level-ness of the ground as you go. Where will the high spots be? Where will the low spots be?
Leveling the Boards
One way to get the boards level is to hammer the rebar in the ground so it’s level. Once you know the rebar is level – you can line up the boards to the top of the rebar nails. I didn’t do this for the trail. My dad showed me this method for the rink – and it was spot on accurate.
Getting the boards to Stand Upright
Getting 2″ boards to stand upright isn’t as easy as it sounds. I used 3 rebar – 2 on the outside and one on the middle inside of the bar to hold each board up in it’s postition. This worked extremely well and was pretty fast. A lot of hammering – but held the boards in their positions well.
Even Spacing Through the Trail
I used a 4ft piece of board to measure the width between the boards as I placed them down. I checked the spacing at each end and in the middle of each board.
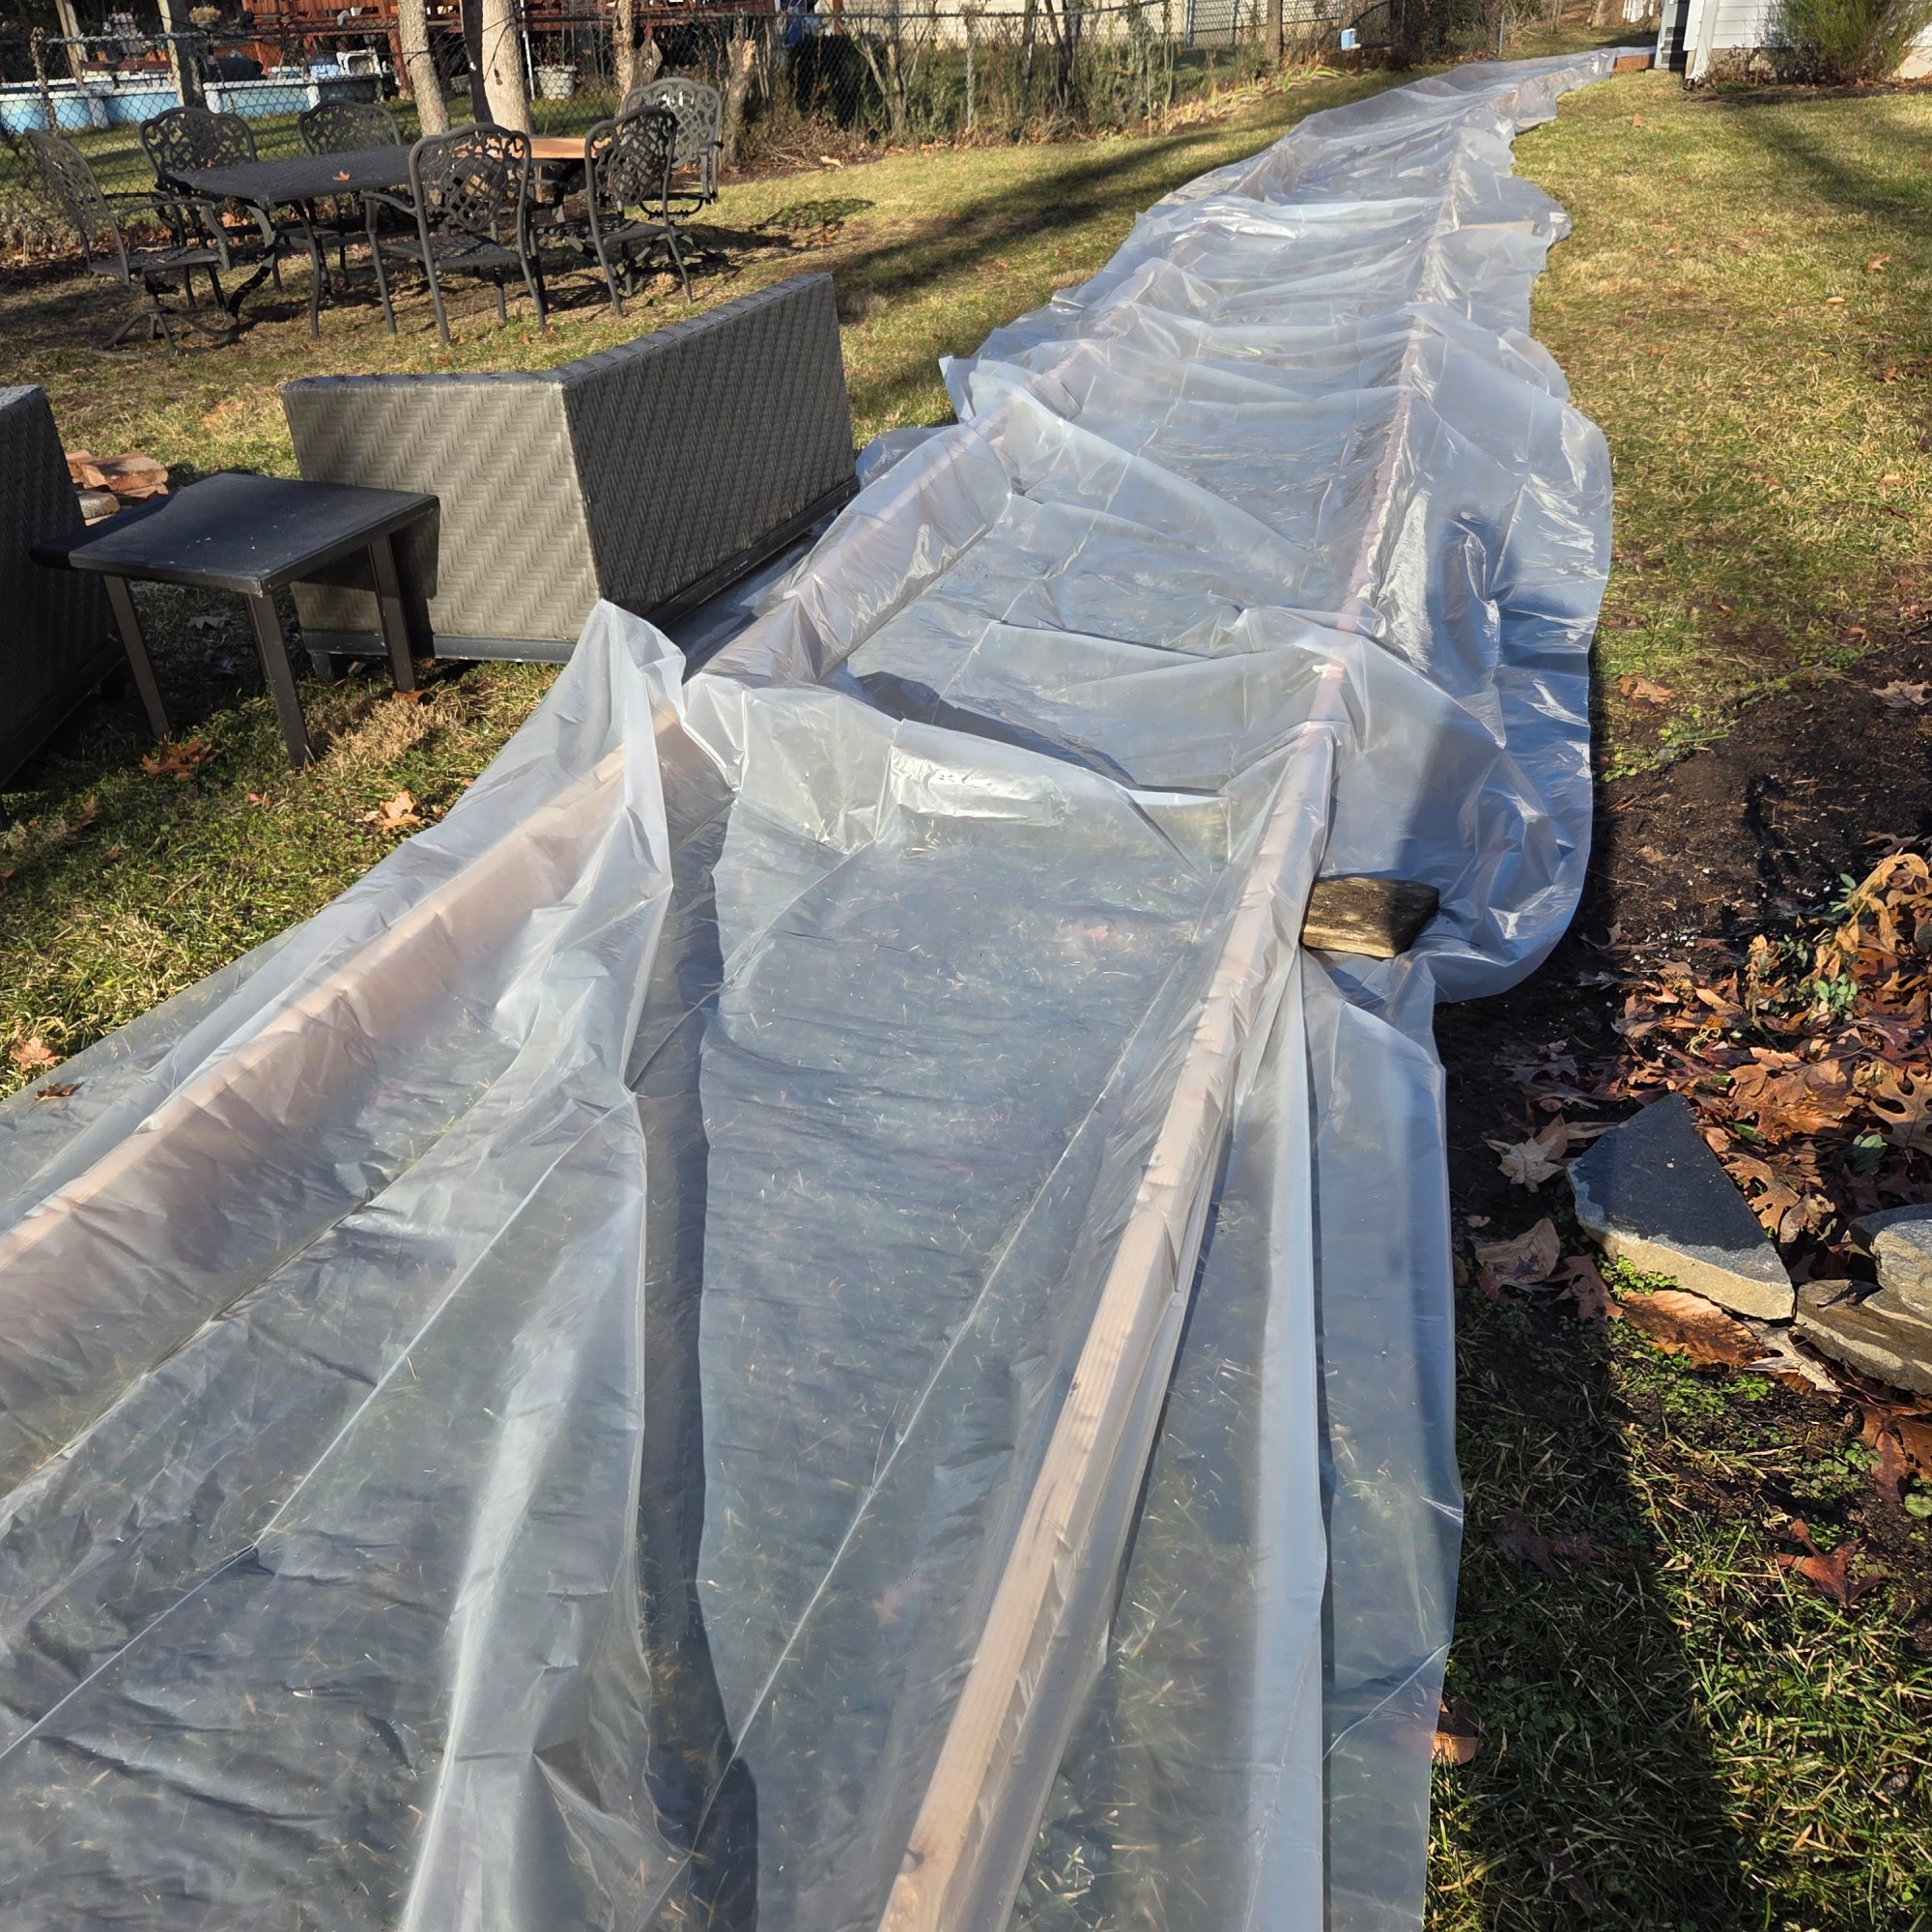
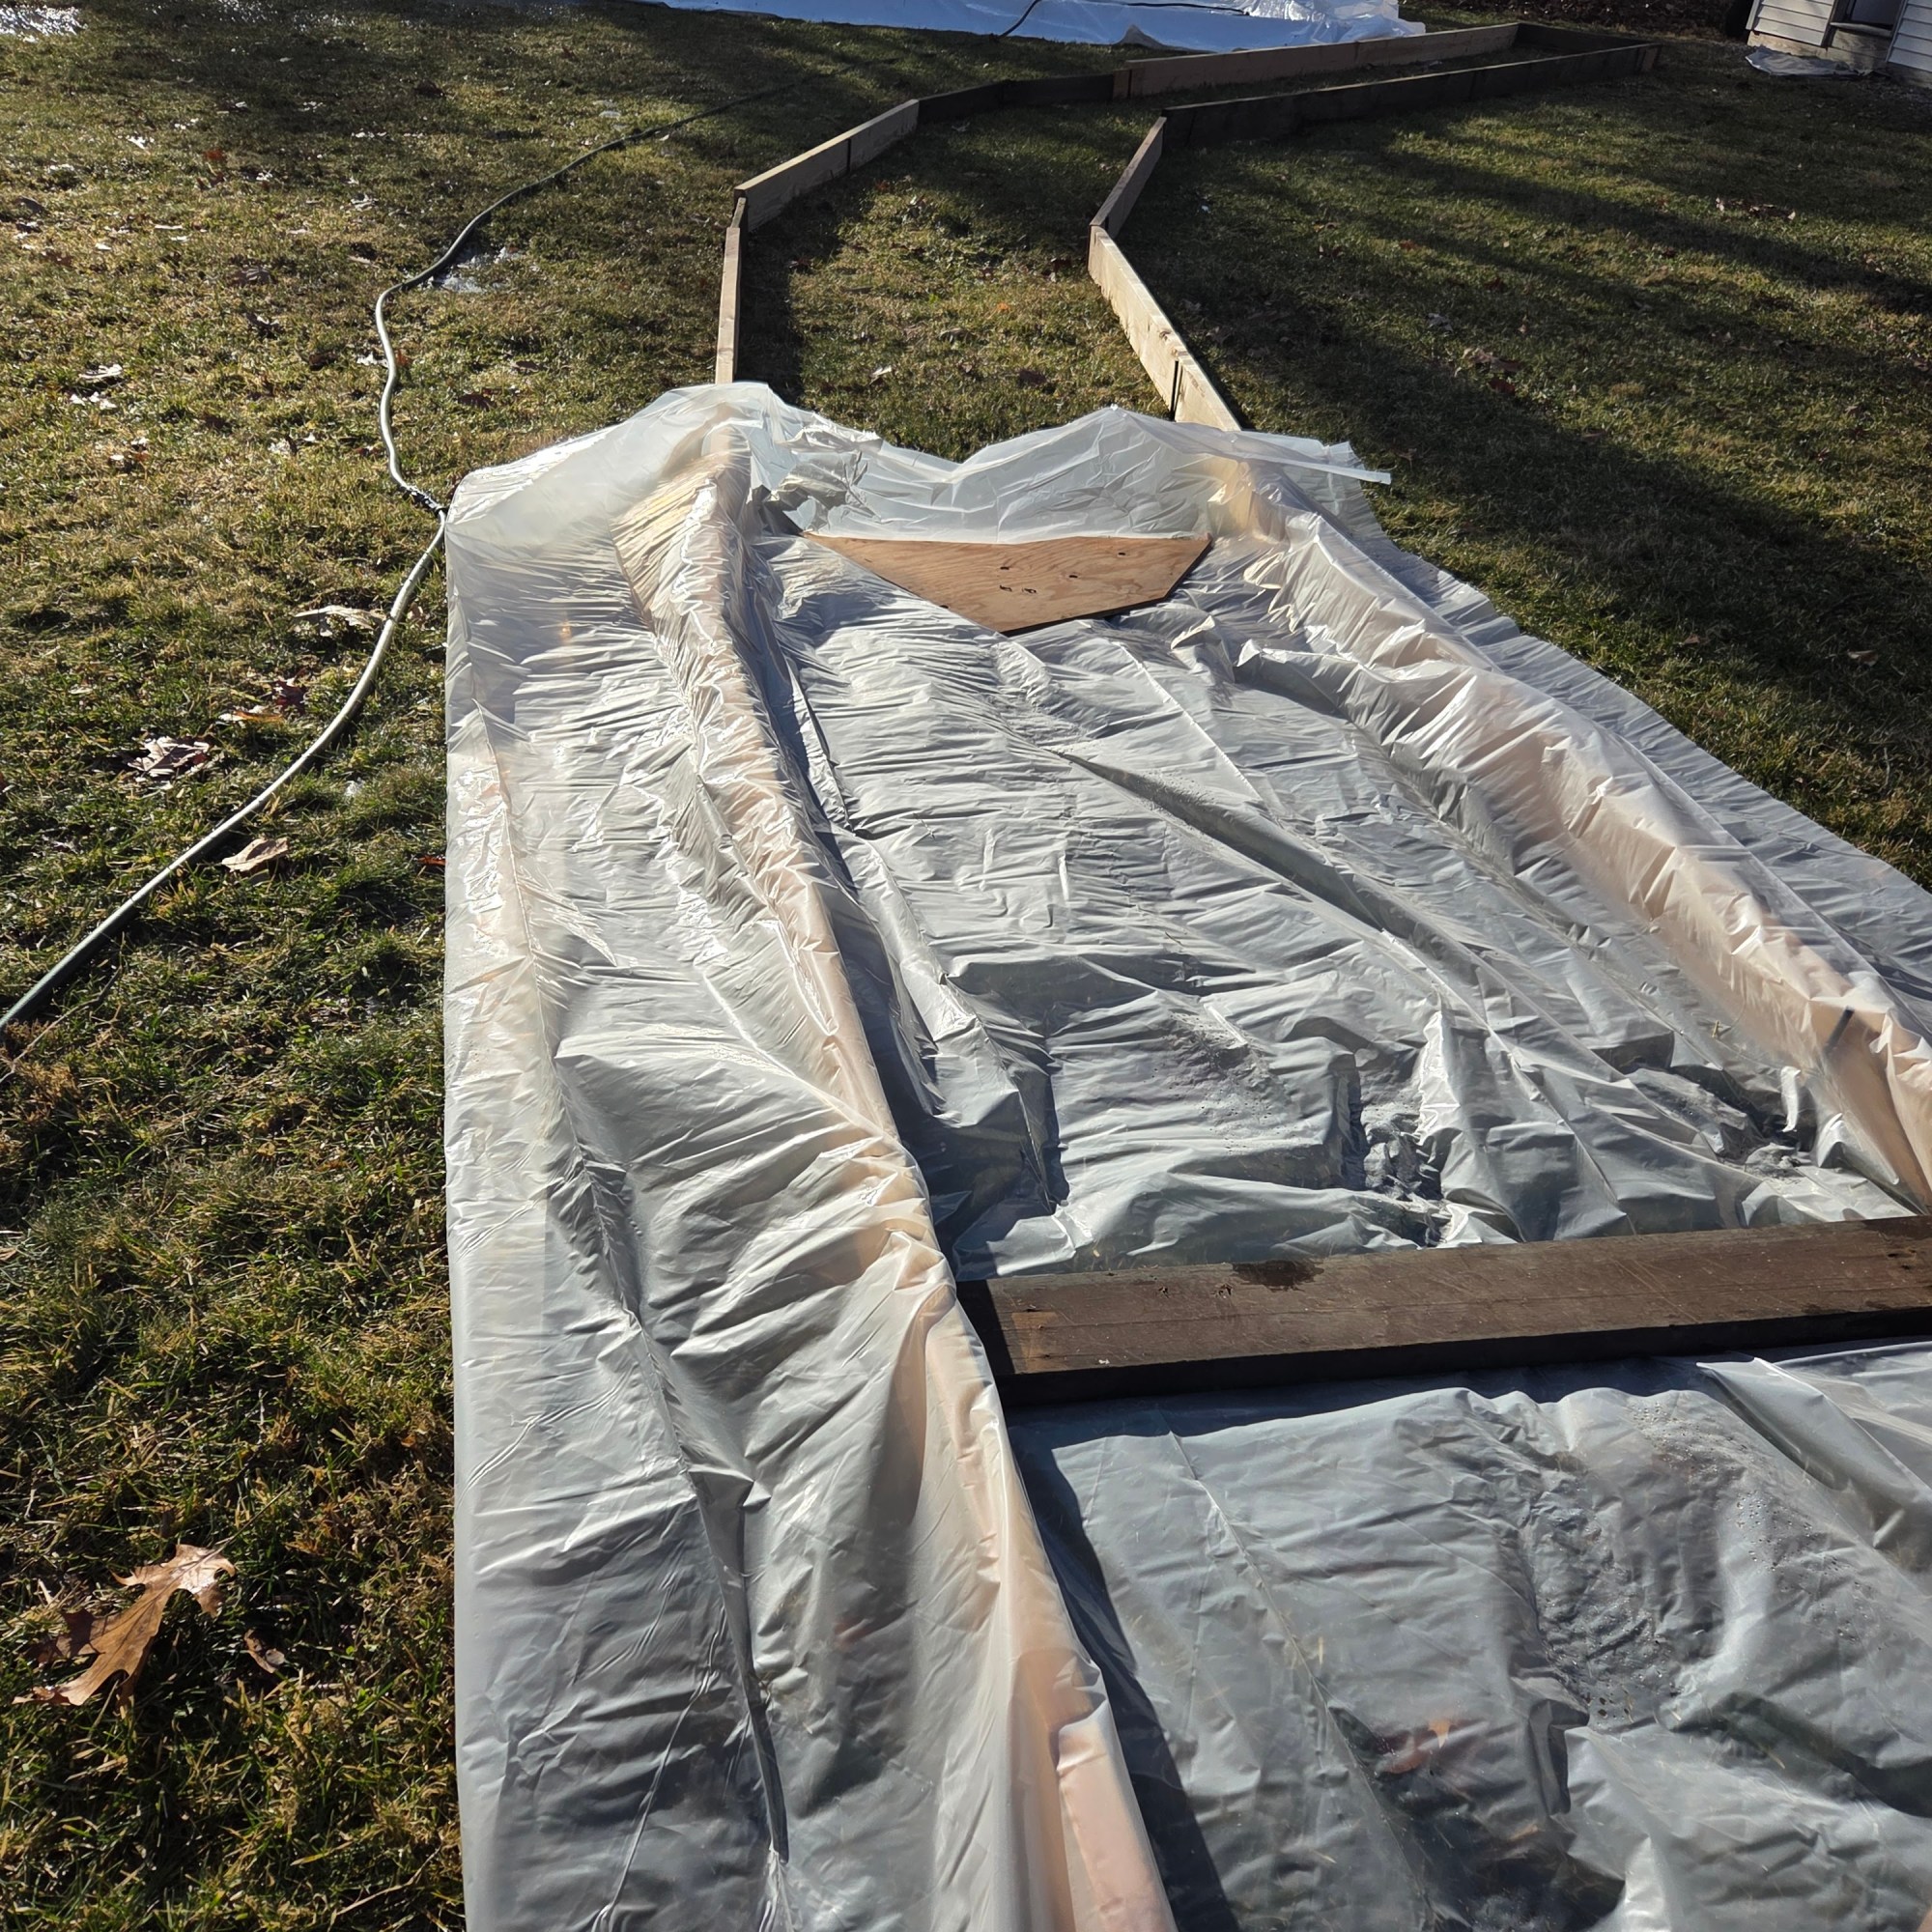
Laying out the Liner
Always have extra liner hanging over the edges. The water is going to press the liner to the ground and into the corners of the trail. Aim for at least a 1-2ft of extra liner hanging over every side of the framed trail. The liner will naturally just drape over the frame but it will have to be tucked into every corner and every low spot. I usually just walk on the liner and use my shoes to tuck it into the corners.
Filling with Water
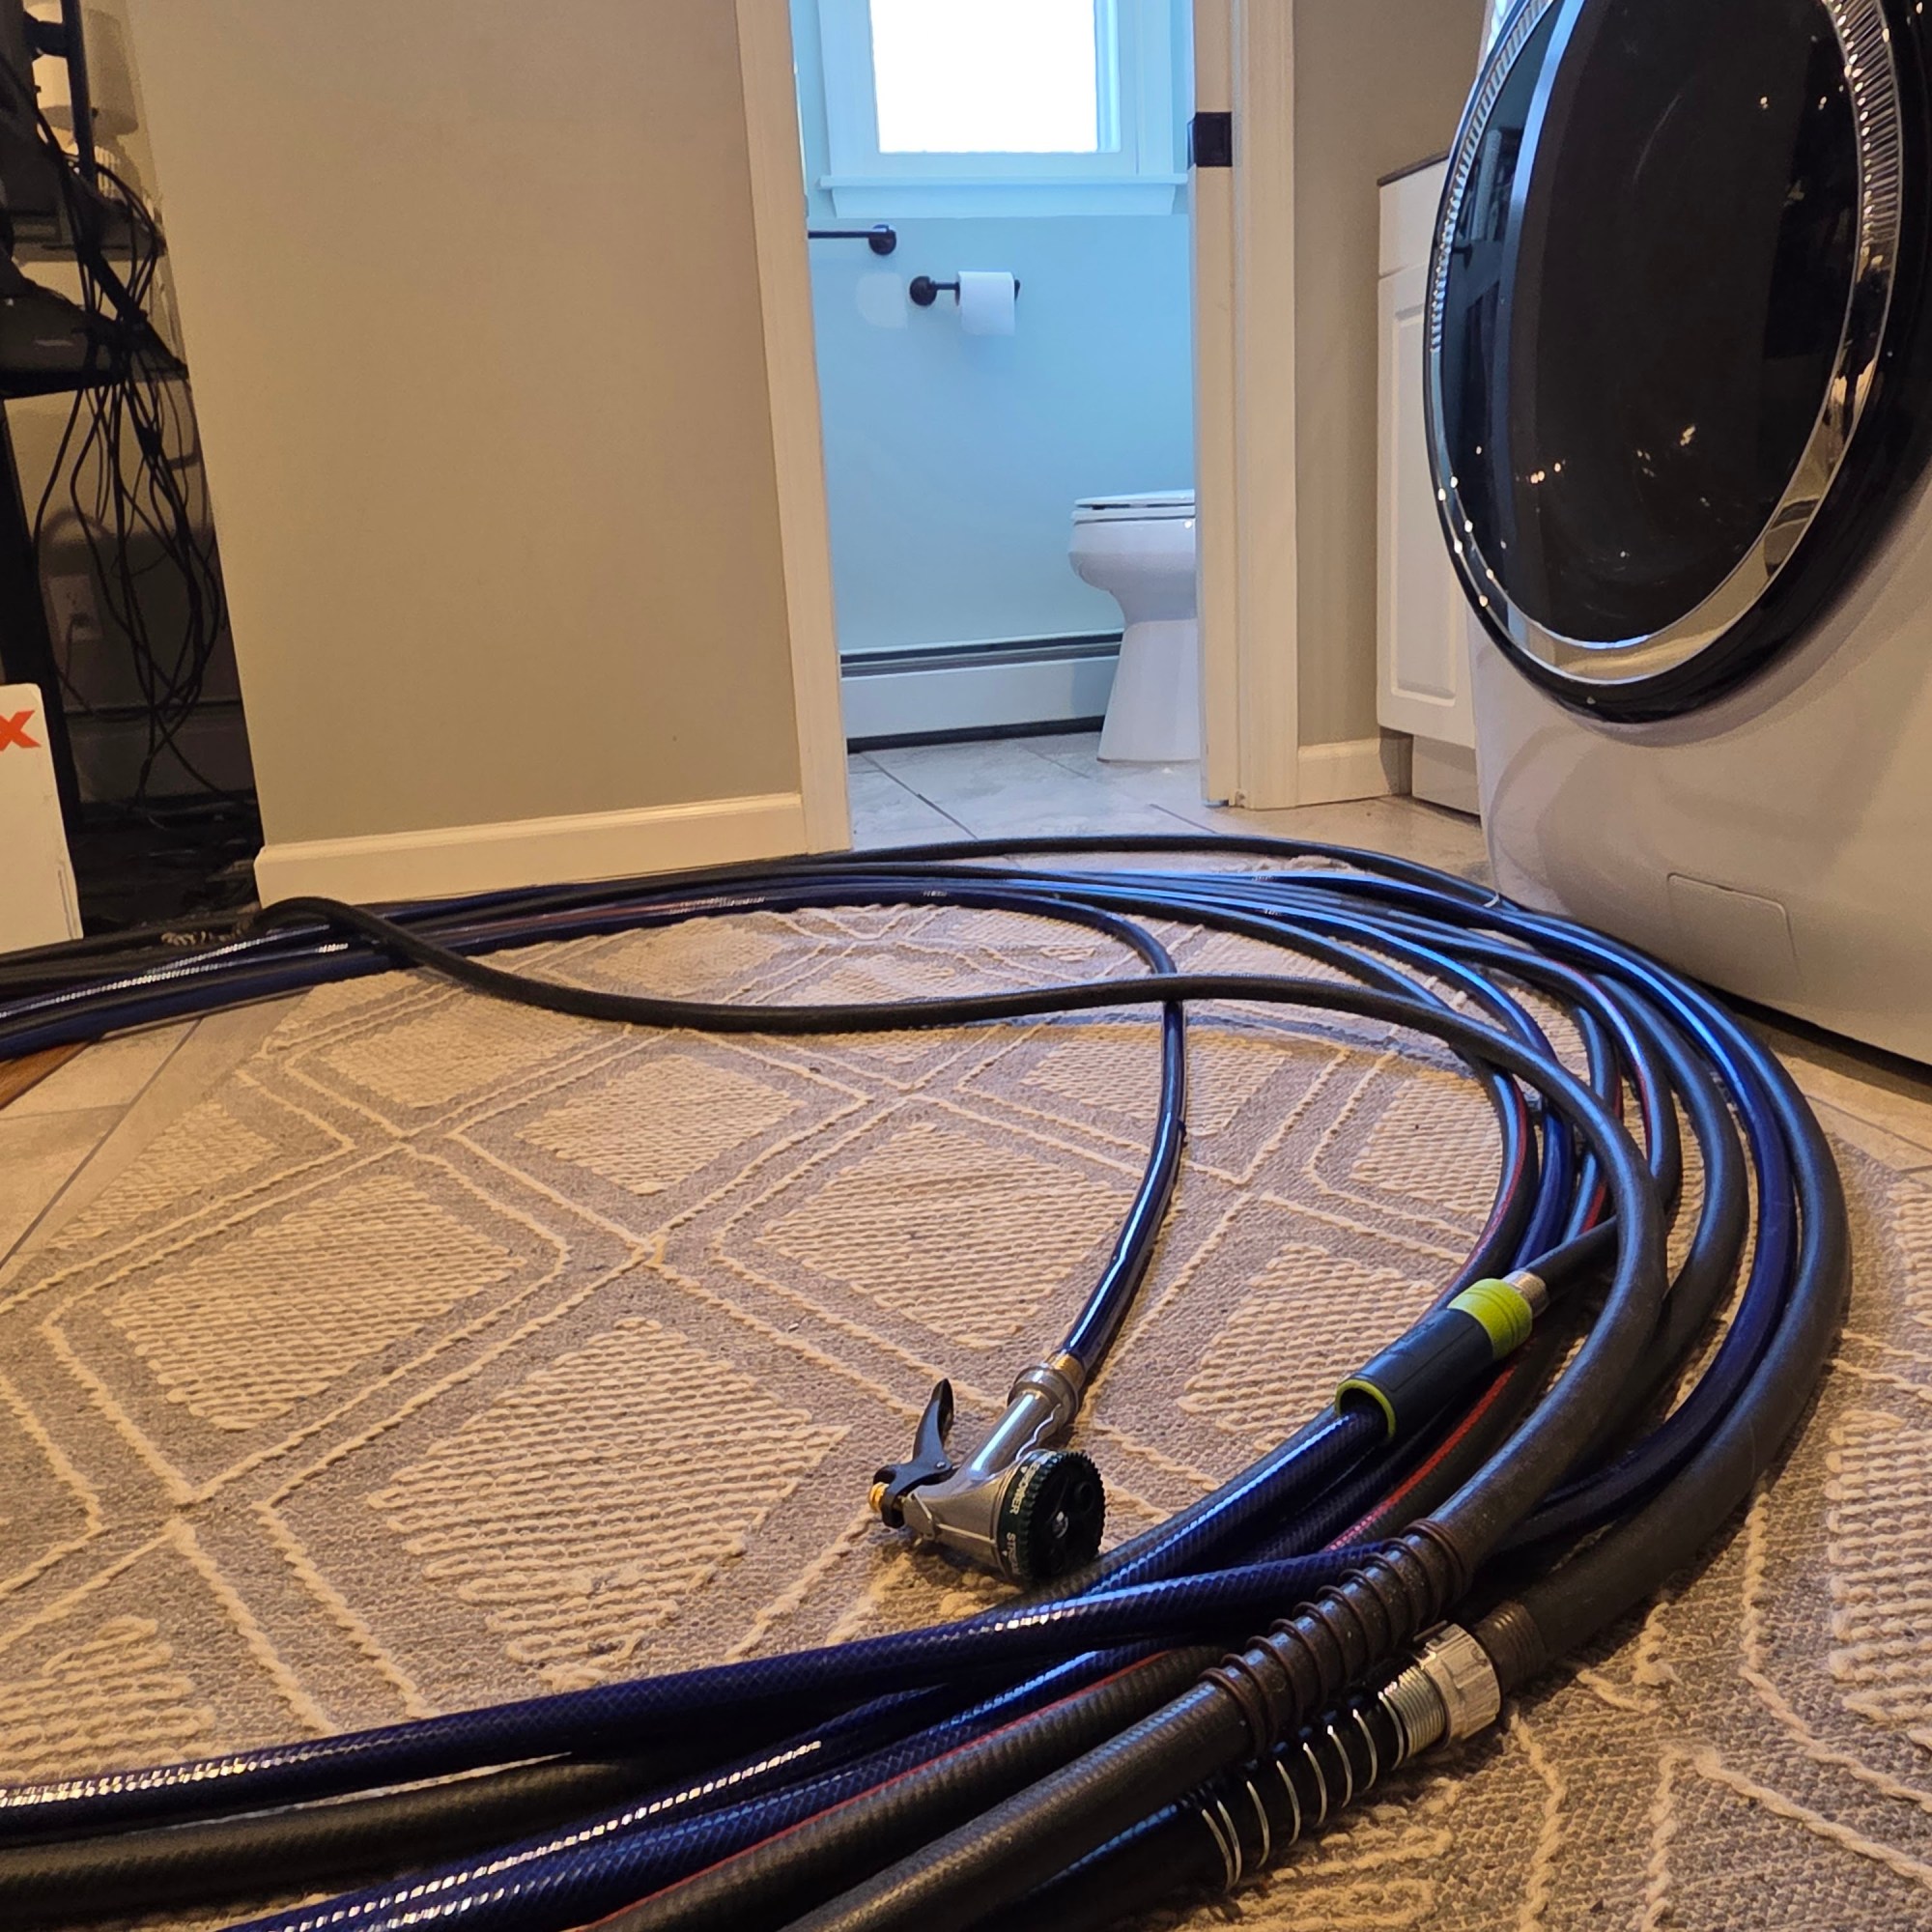
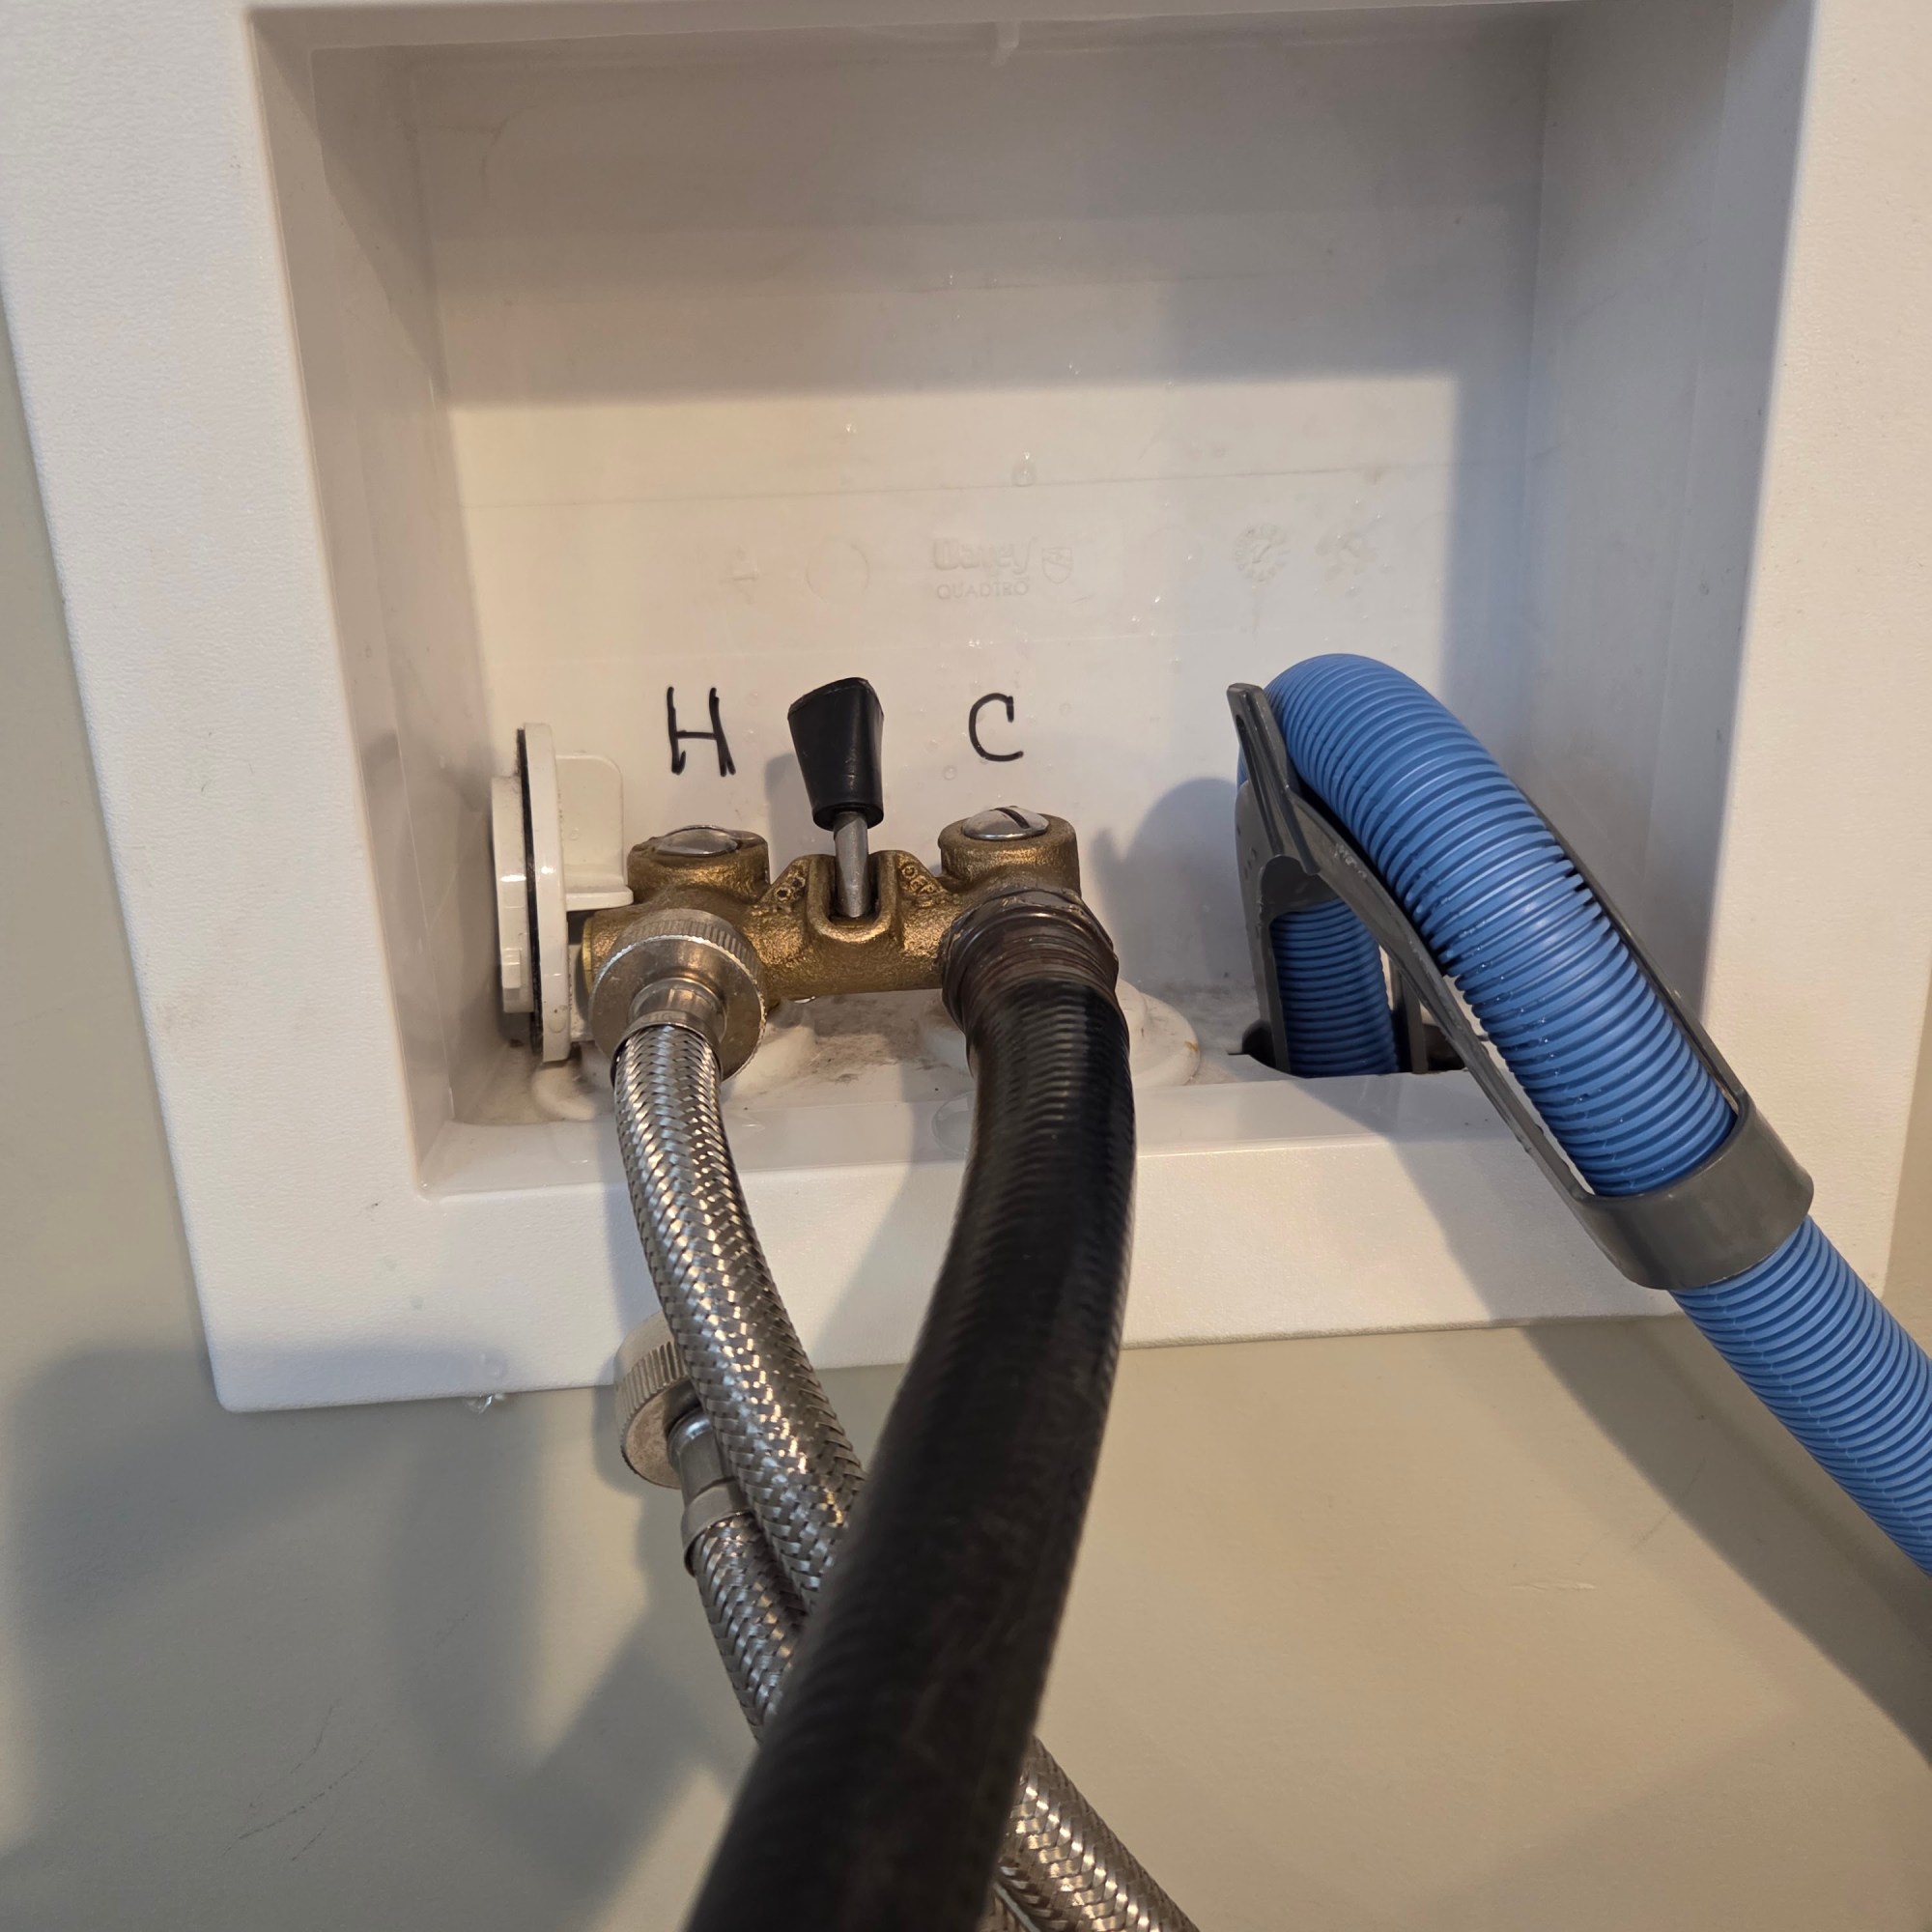
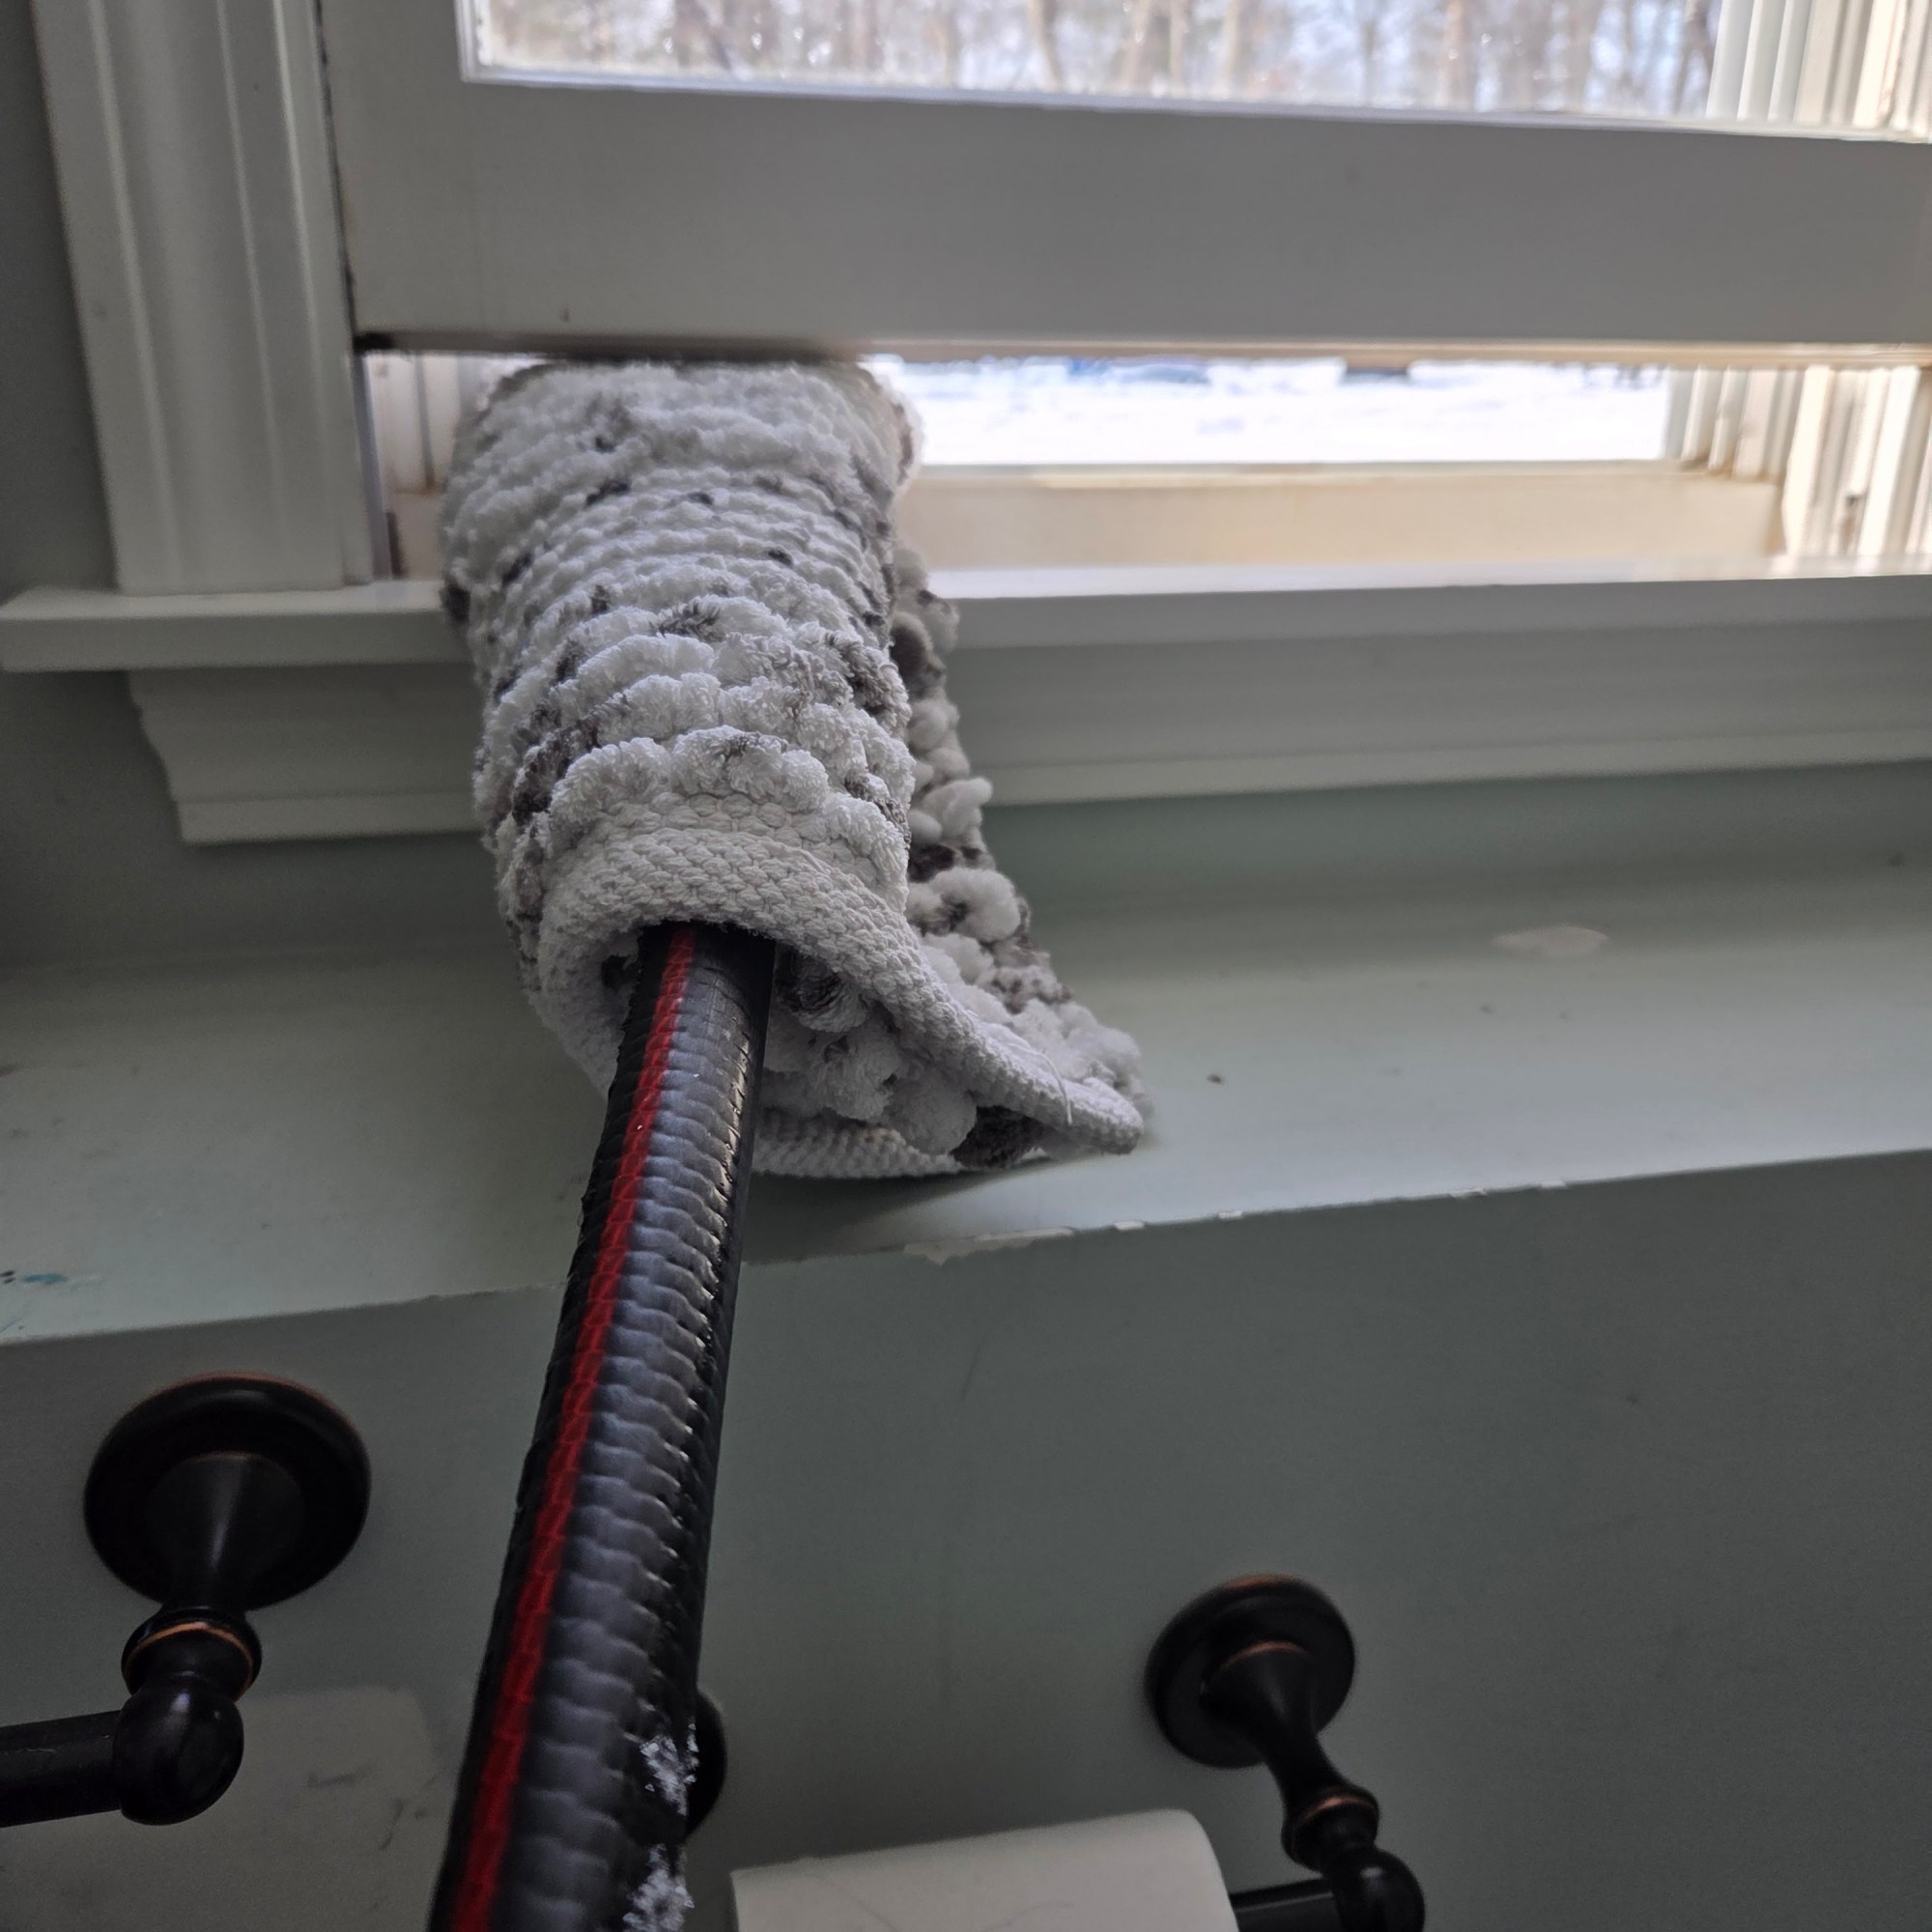
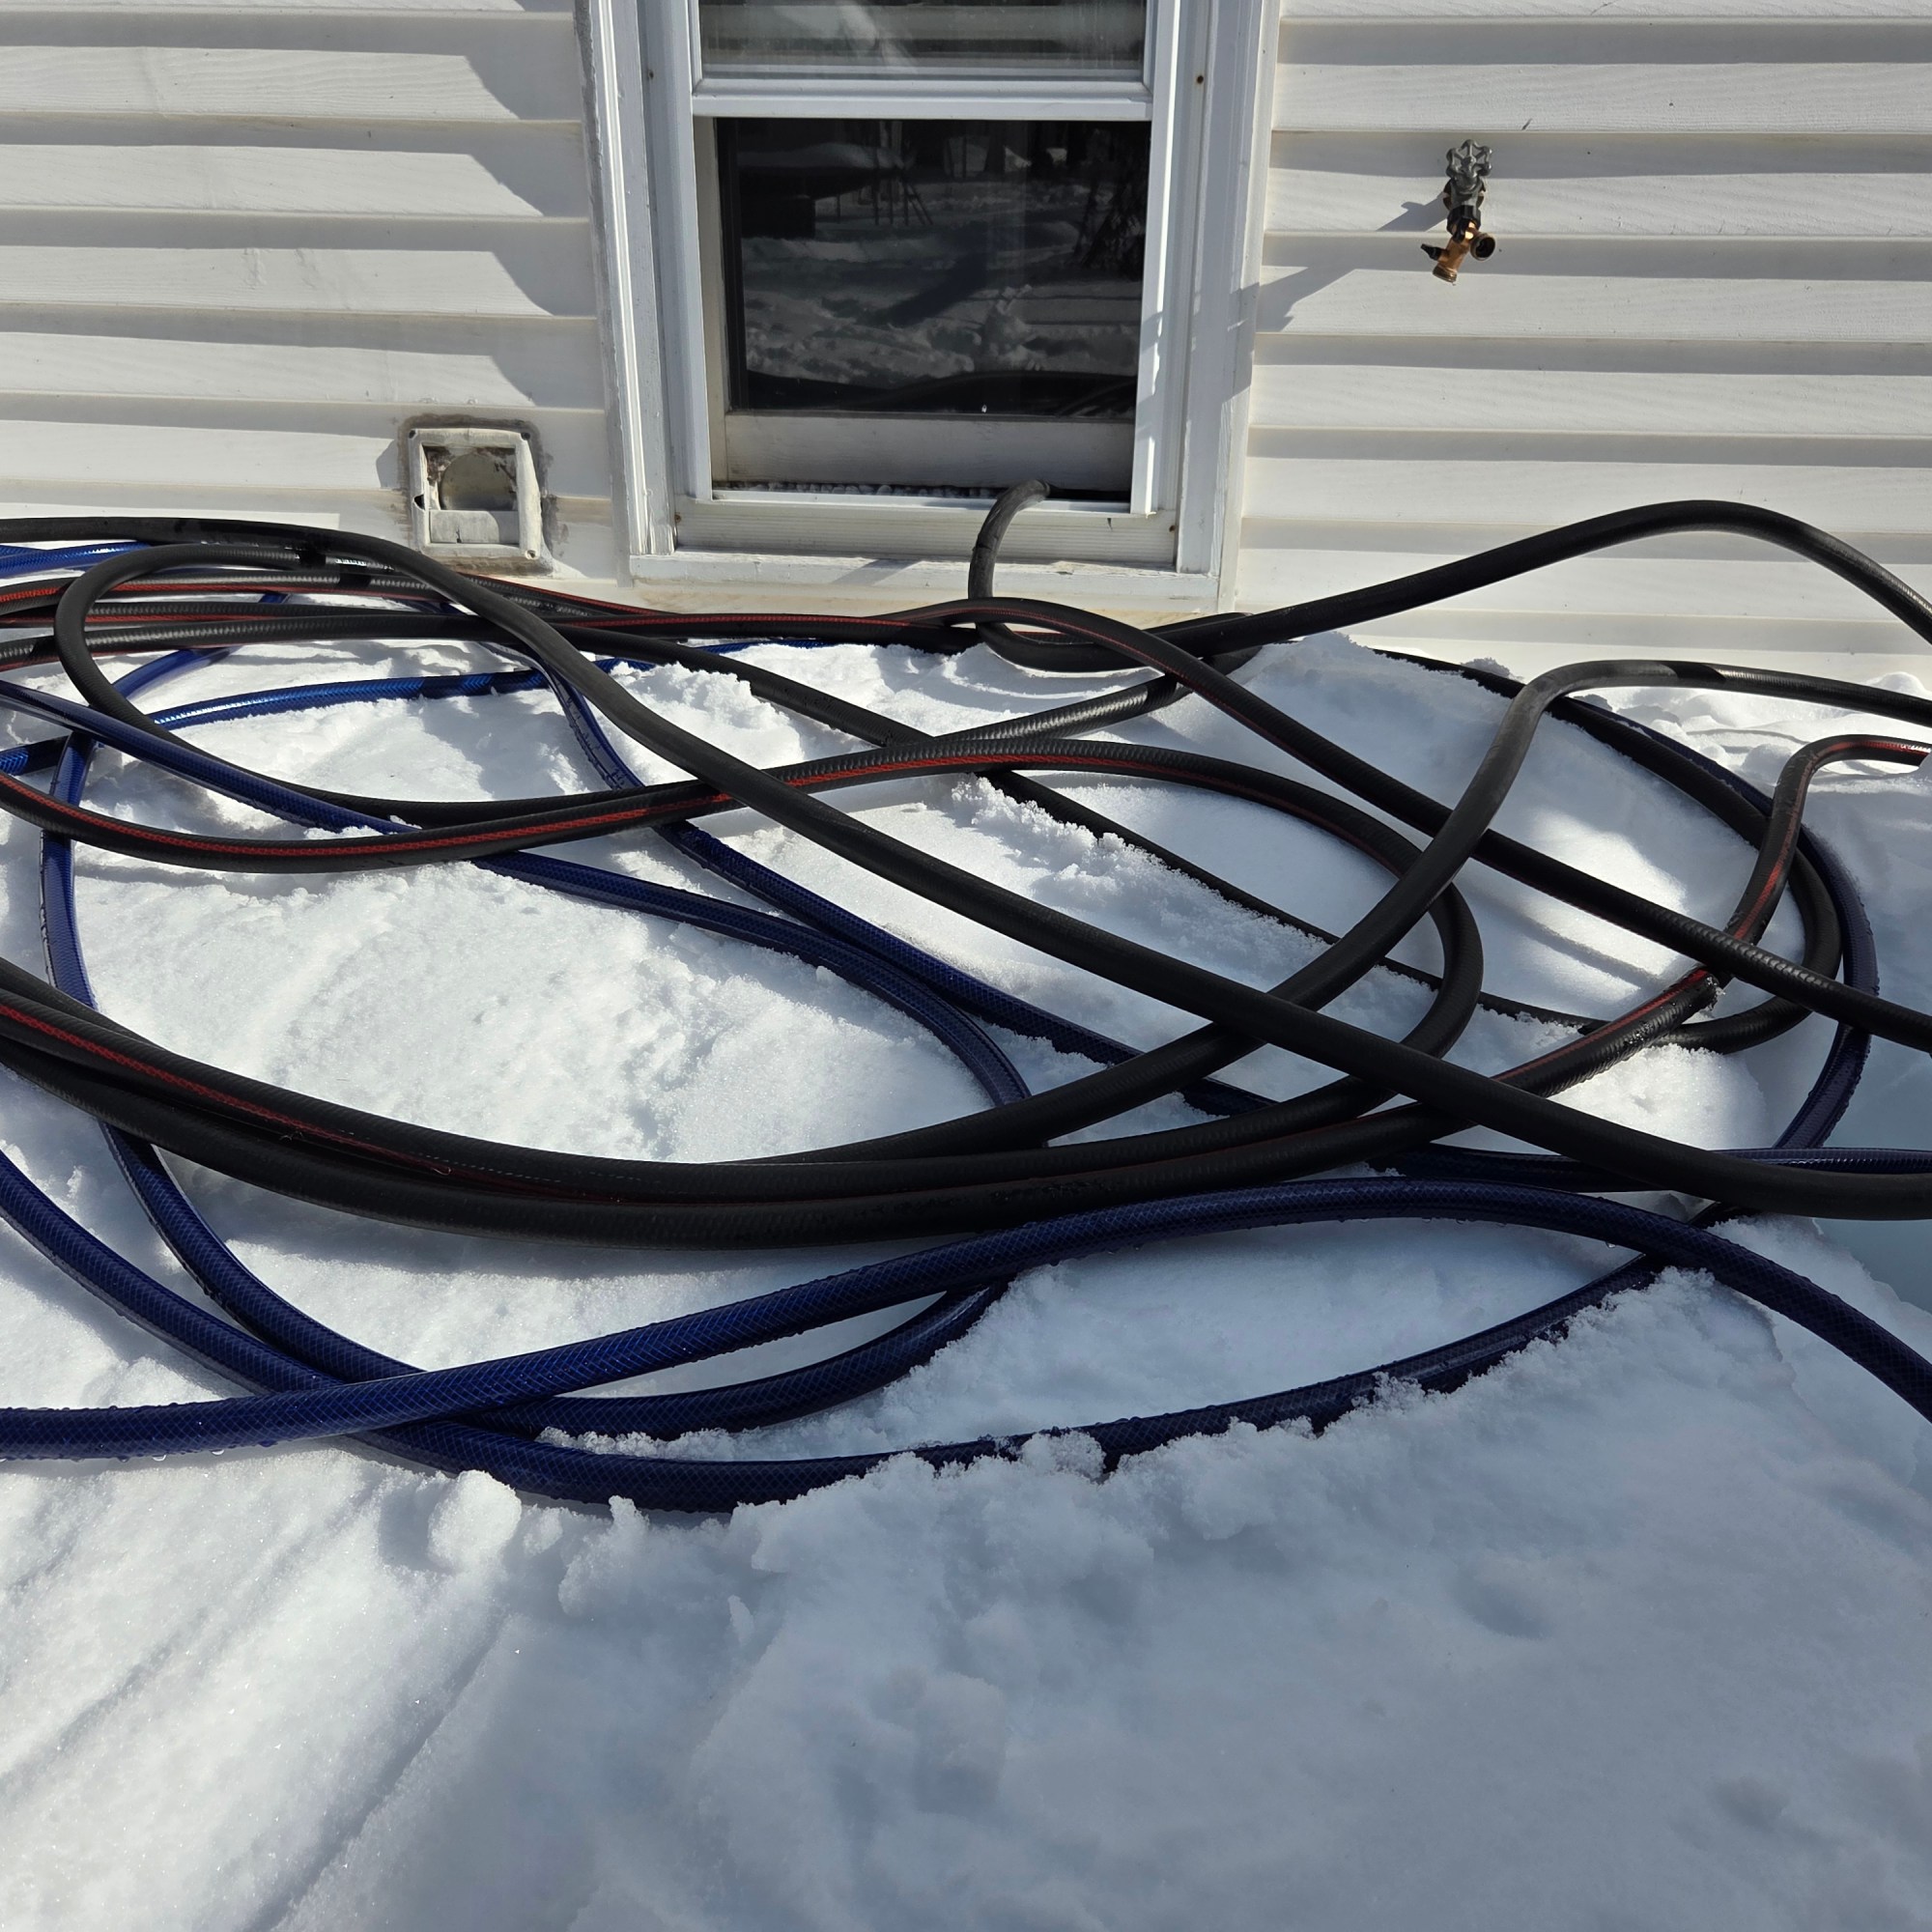
Hoses have to be stored inside. The water in them will freeze create a lot of problems – possibly breaking the hose, and water won’t be able to get thru. Store the hoses in a warm place until they are ready for use. For us it’s in the garage – then I just leave it in the house close to the spigot. Our outdoor spigot freezes in the winter too so we have it off. Last year I used the bathroom showerhead to fill the rink (adapter needed). This year I wanted faster water flow so I used the washing methane cold water spigot. Darn, can’t do laundry when I’m working on the ice.
Freezing
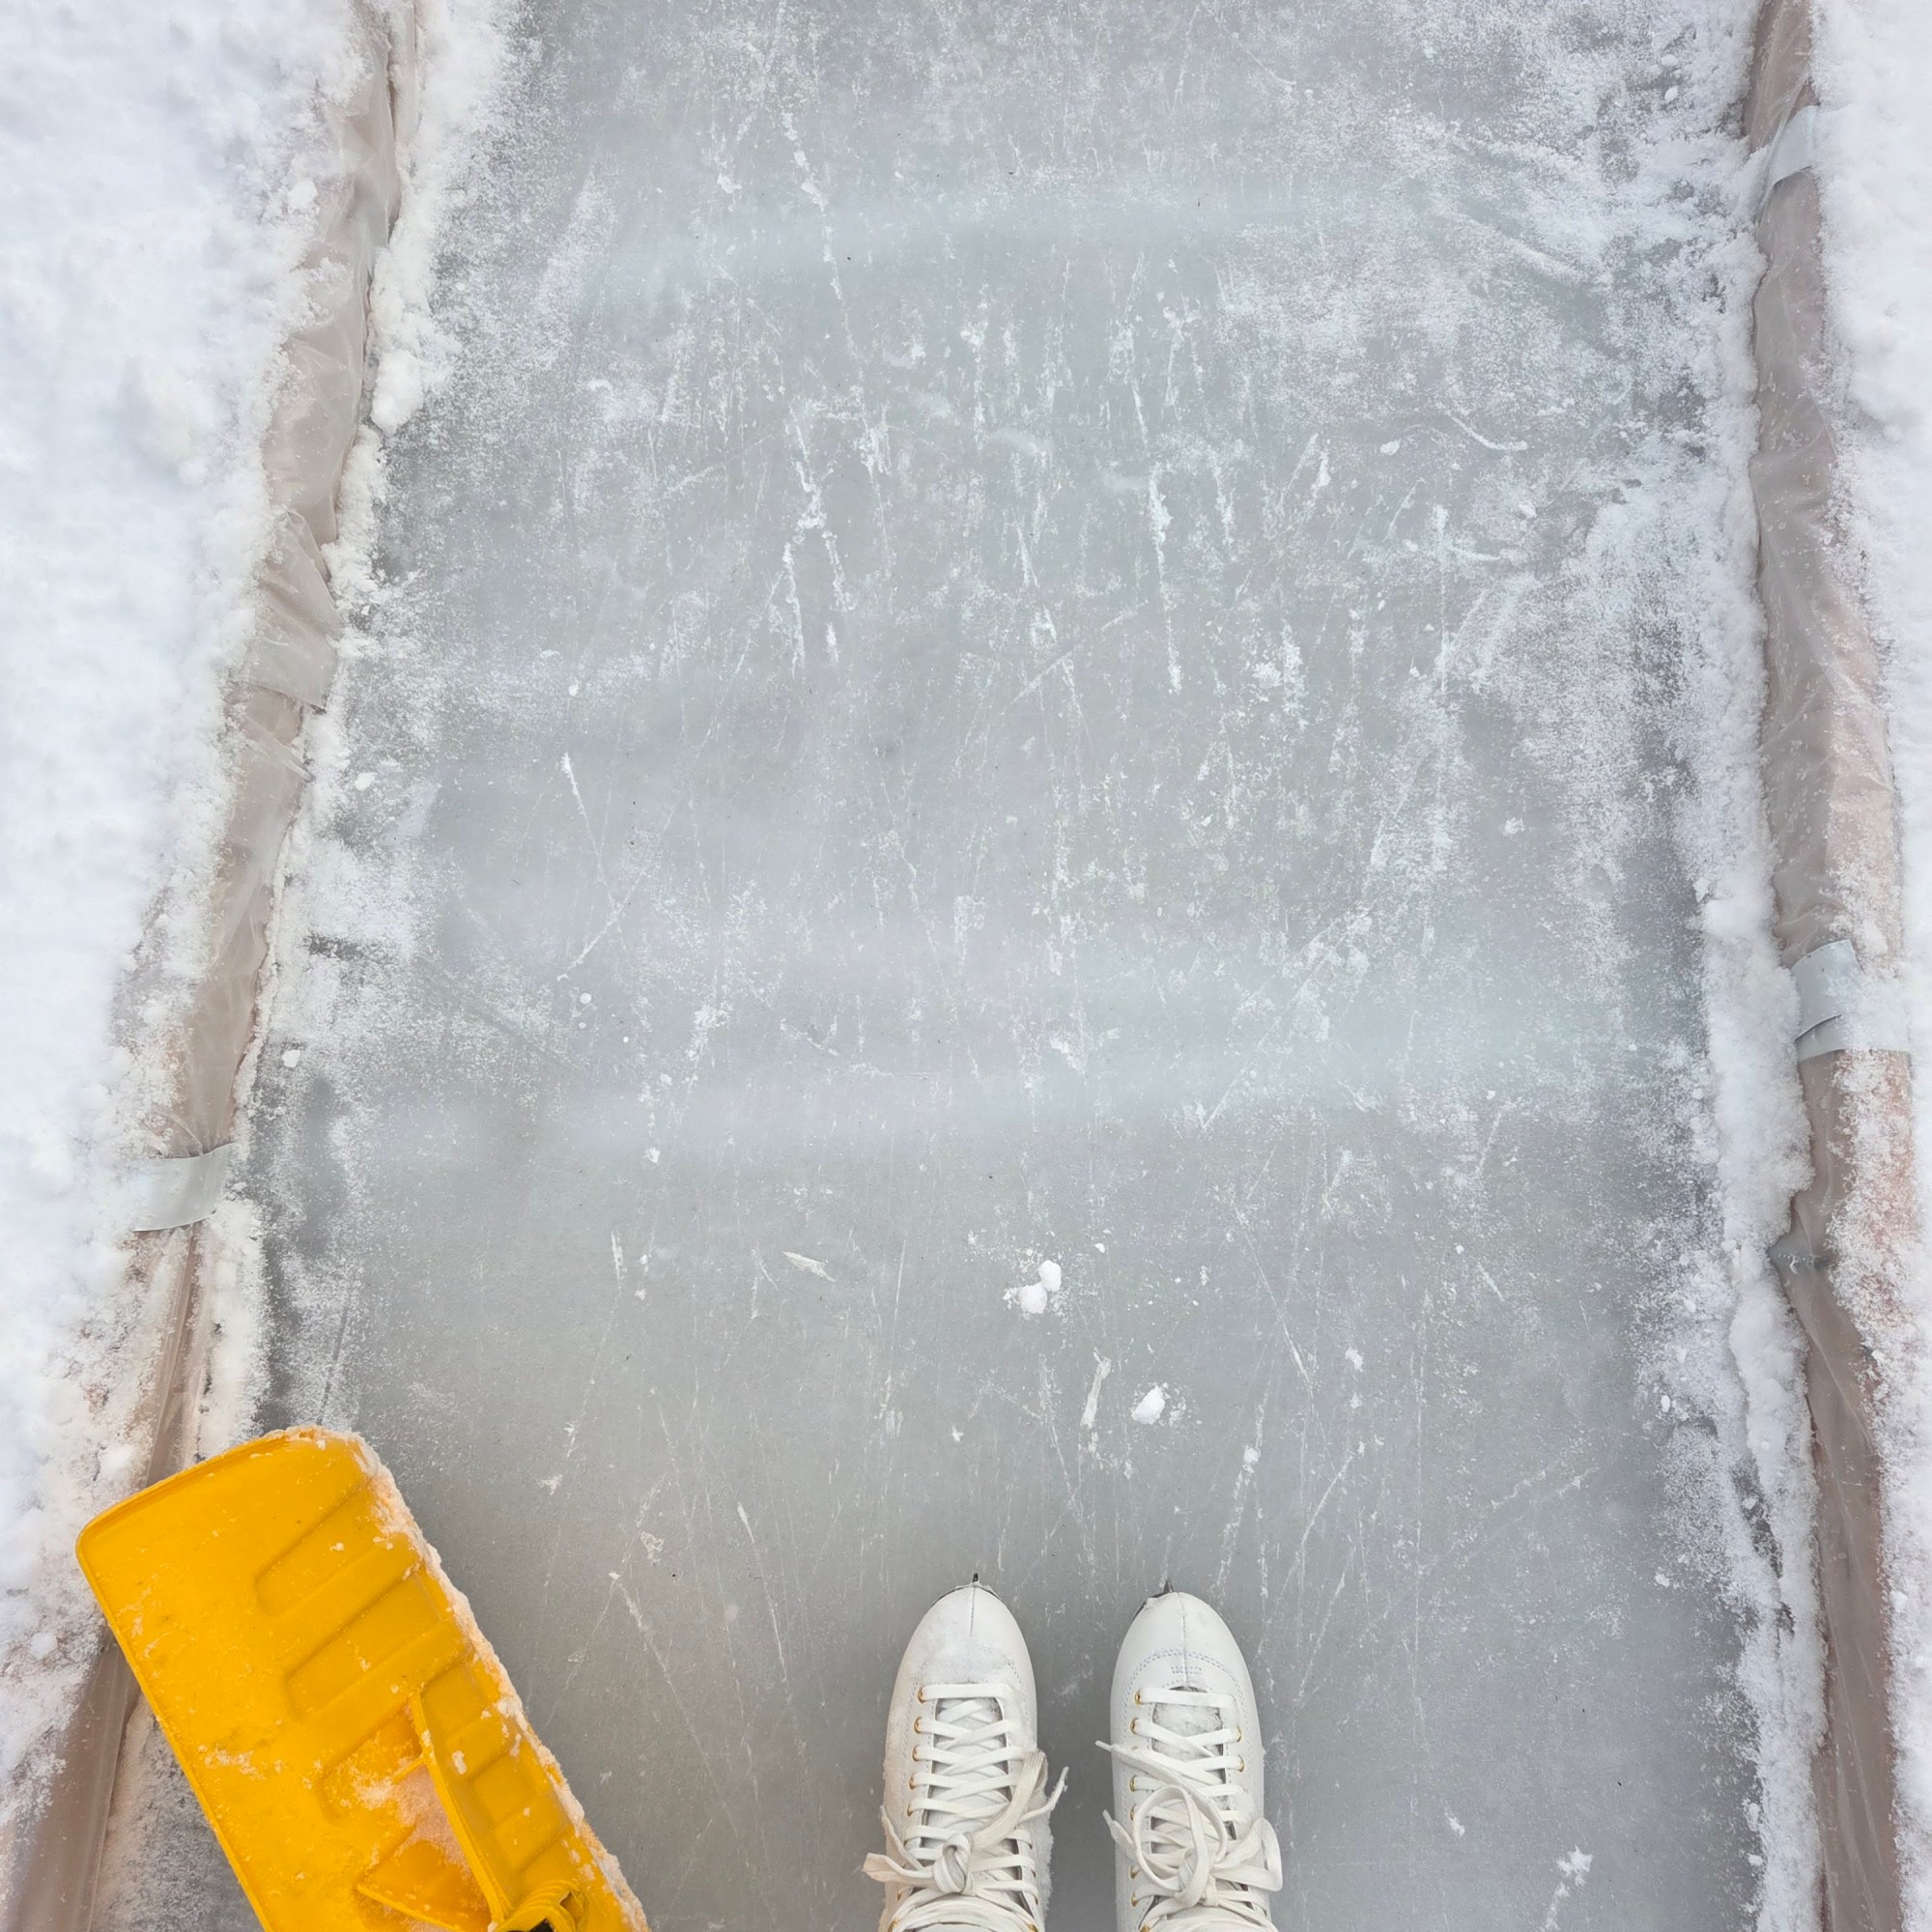
3 full days of freezing cold temps will get 4-6 inches of water 90% frozen – and good enough to try going on.
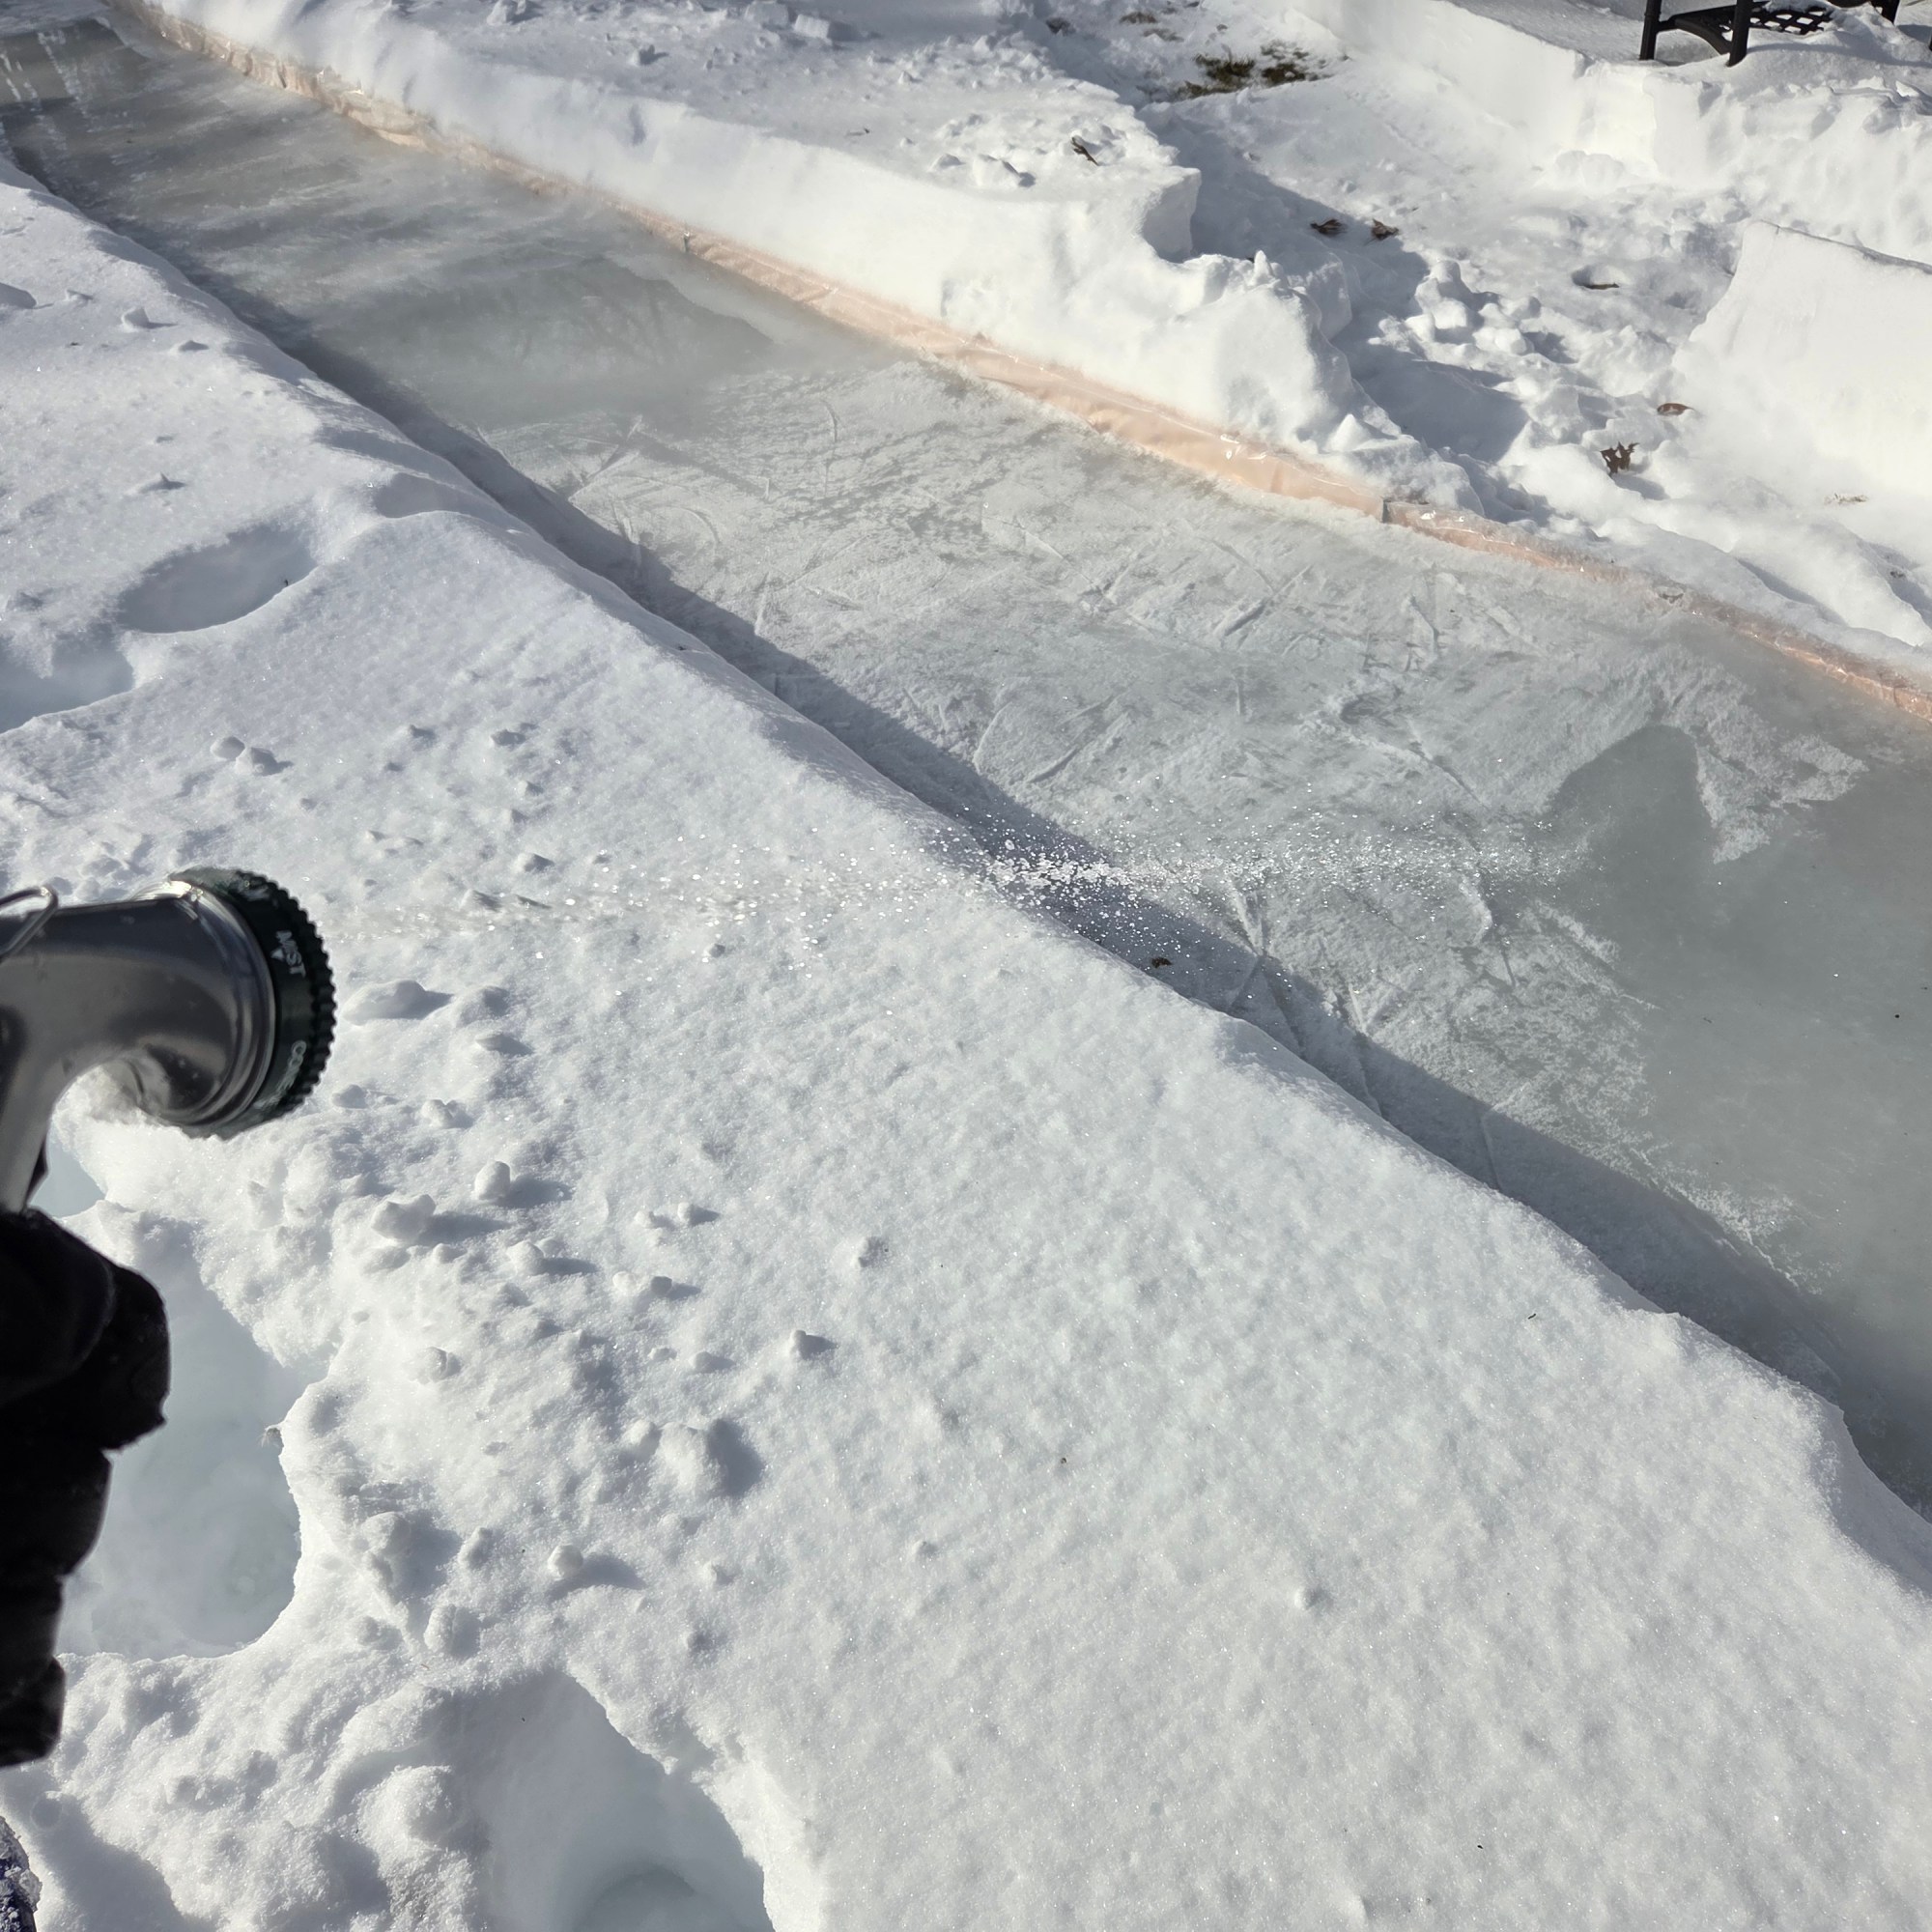
Troubleshooting Unlevel Ground: Slush
I ended up placing two 6in boards across the rink to create a damn. The boards went across under the plastic. The water filled up to where the damn was and then i was able to fill up the section on the other side of the boards to a higher level. Then the water froze around the boards. Once it was frozen I kicked the boards down and filled the gap with slush (snow and water). These two areas have two ‘speed bumps’ and it is strong enough to skate on! Yay! My biggest fear was the ice breaking in these ‘high spots’ where it was difficult to build up the ice depth. The cool thing about slush is it is moldable like clay. Slush is a good friend.
Setting up the Trail
Filling and Maintaining the Ice
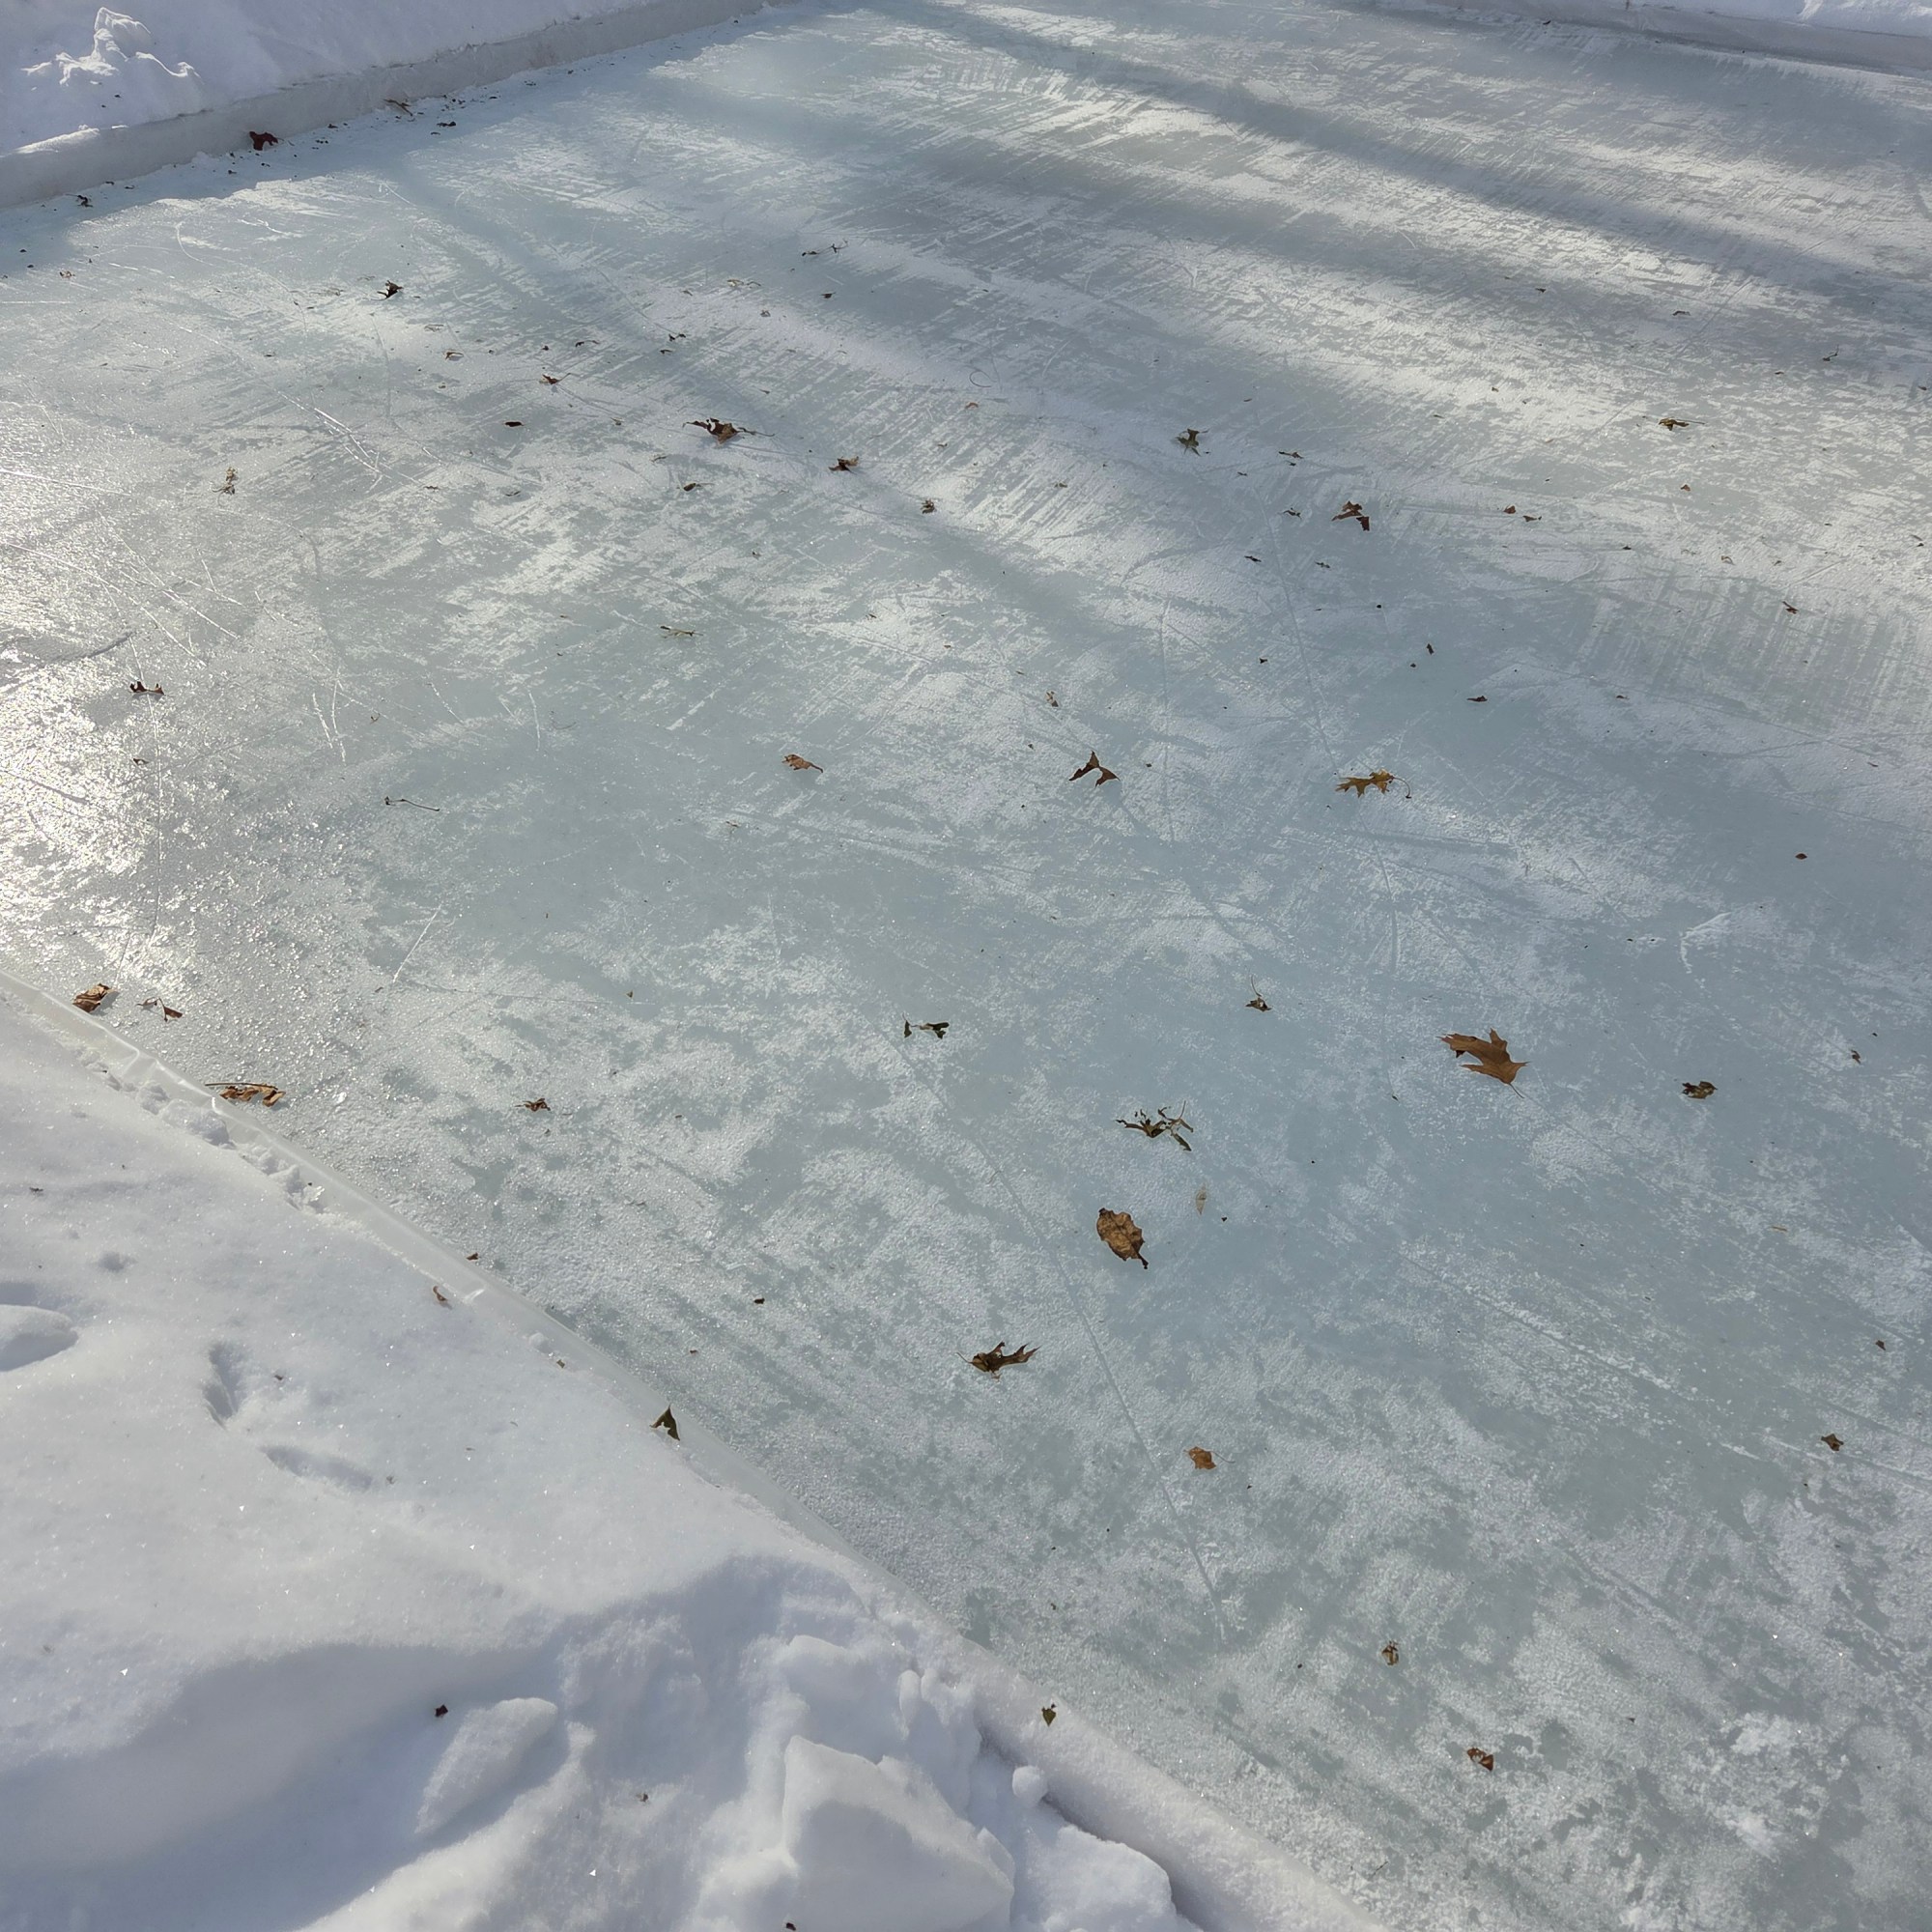
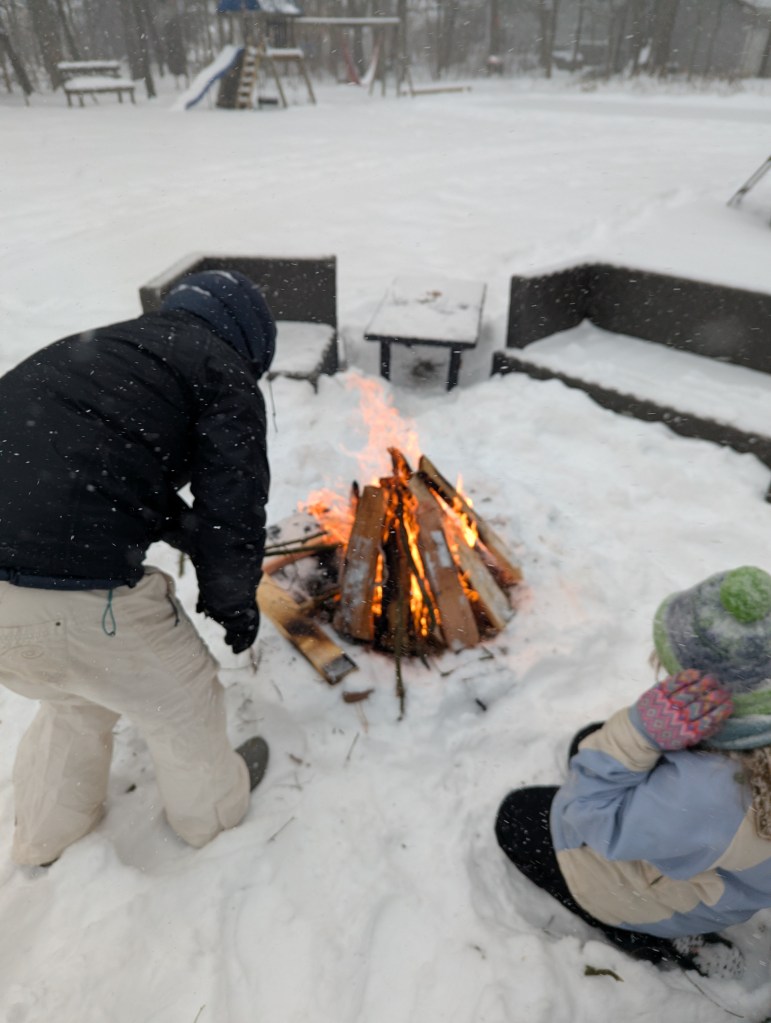
Ideally plan to fill the rink when there’s no prediction of snow. We ended up getting snow 48 hours after the initial fill – thankfully the ice was solid enough to go on and shovel off – but the snow was slushy so I took off just enough to keep the surface flat. For the speed bump sections – try glazing over the area 1-2x a day to build up a smooth surface.
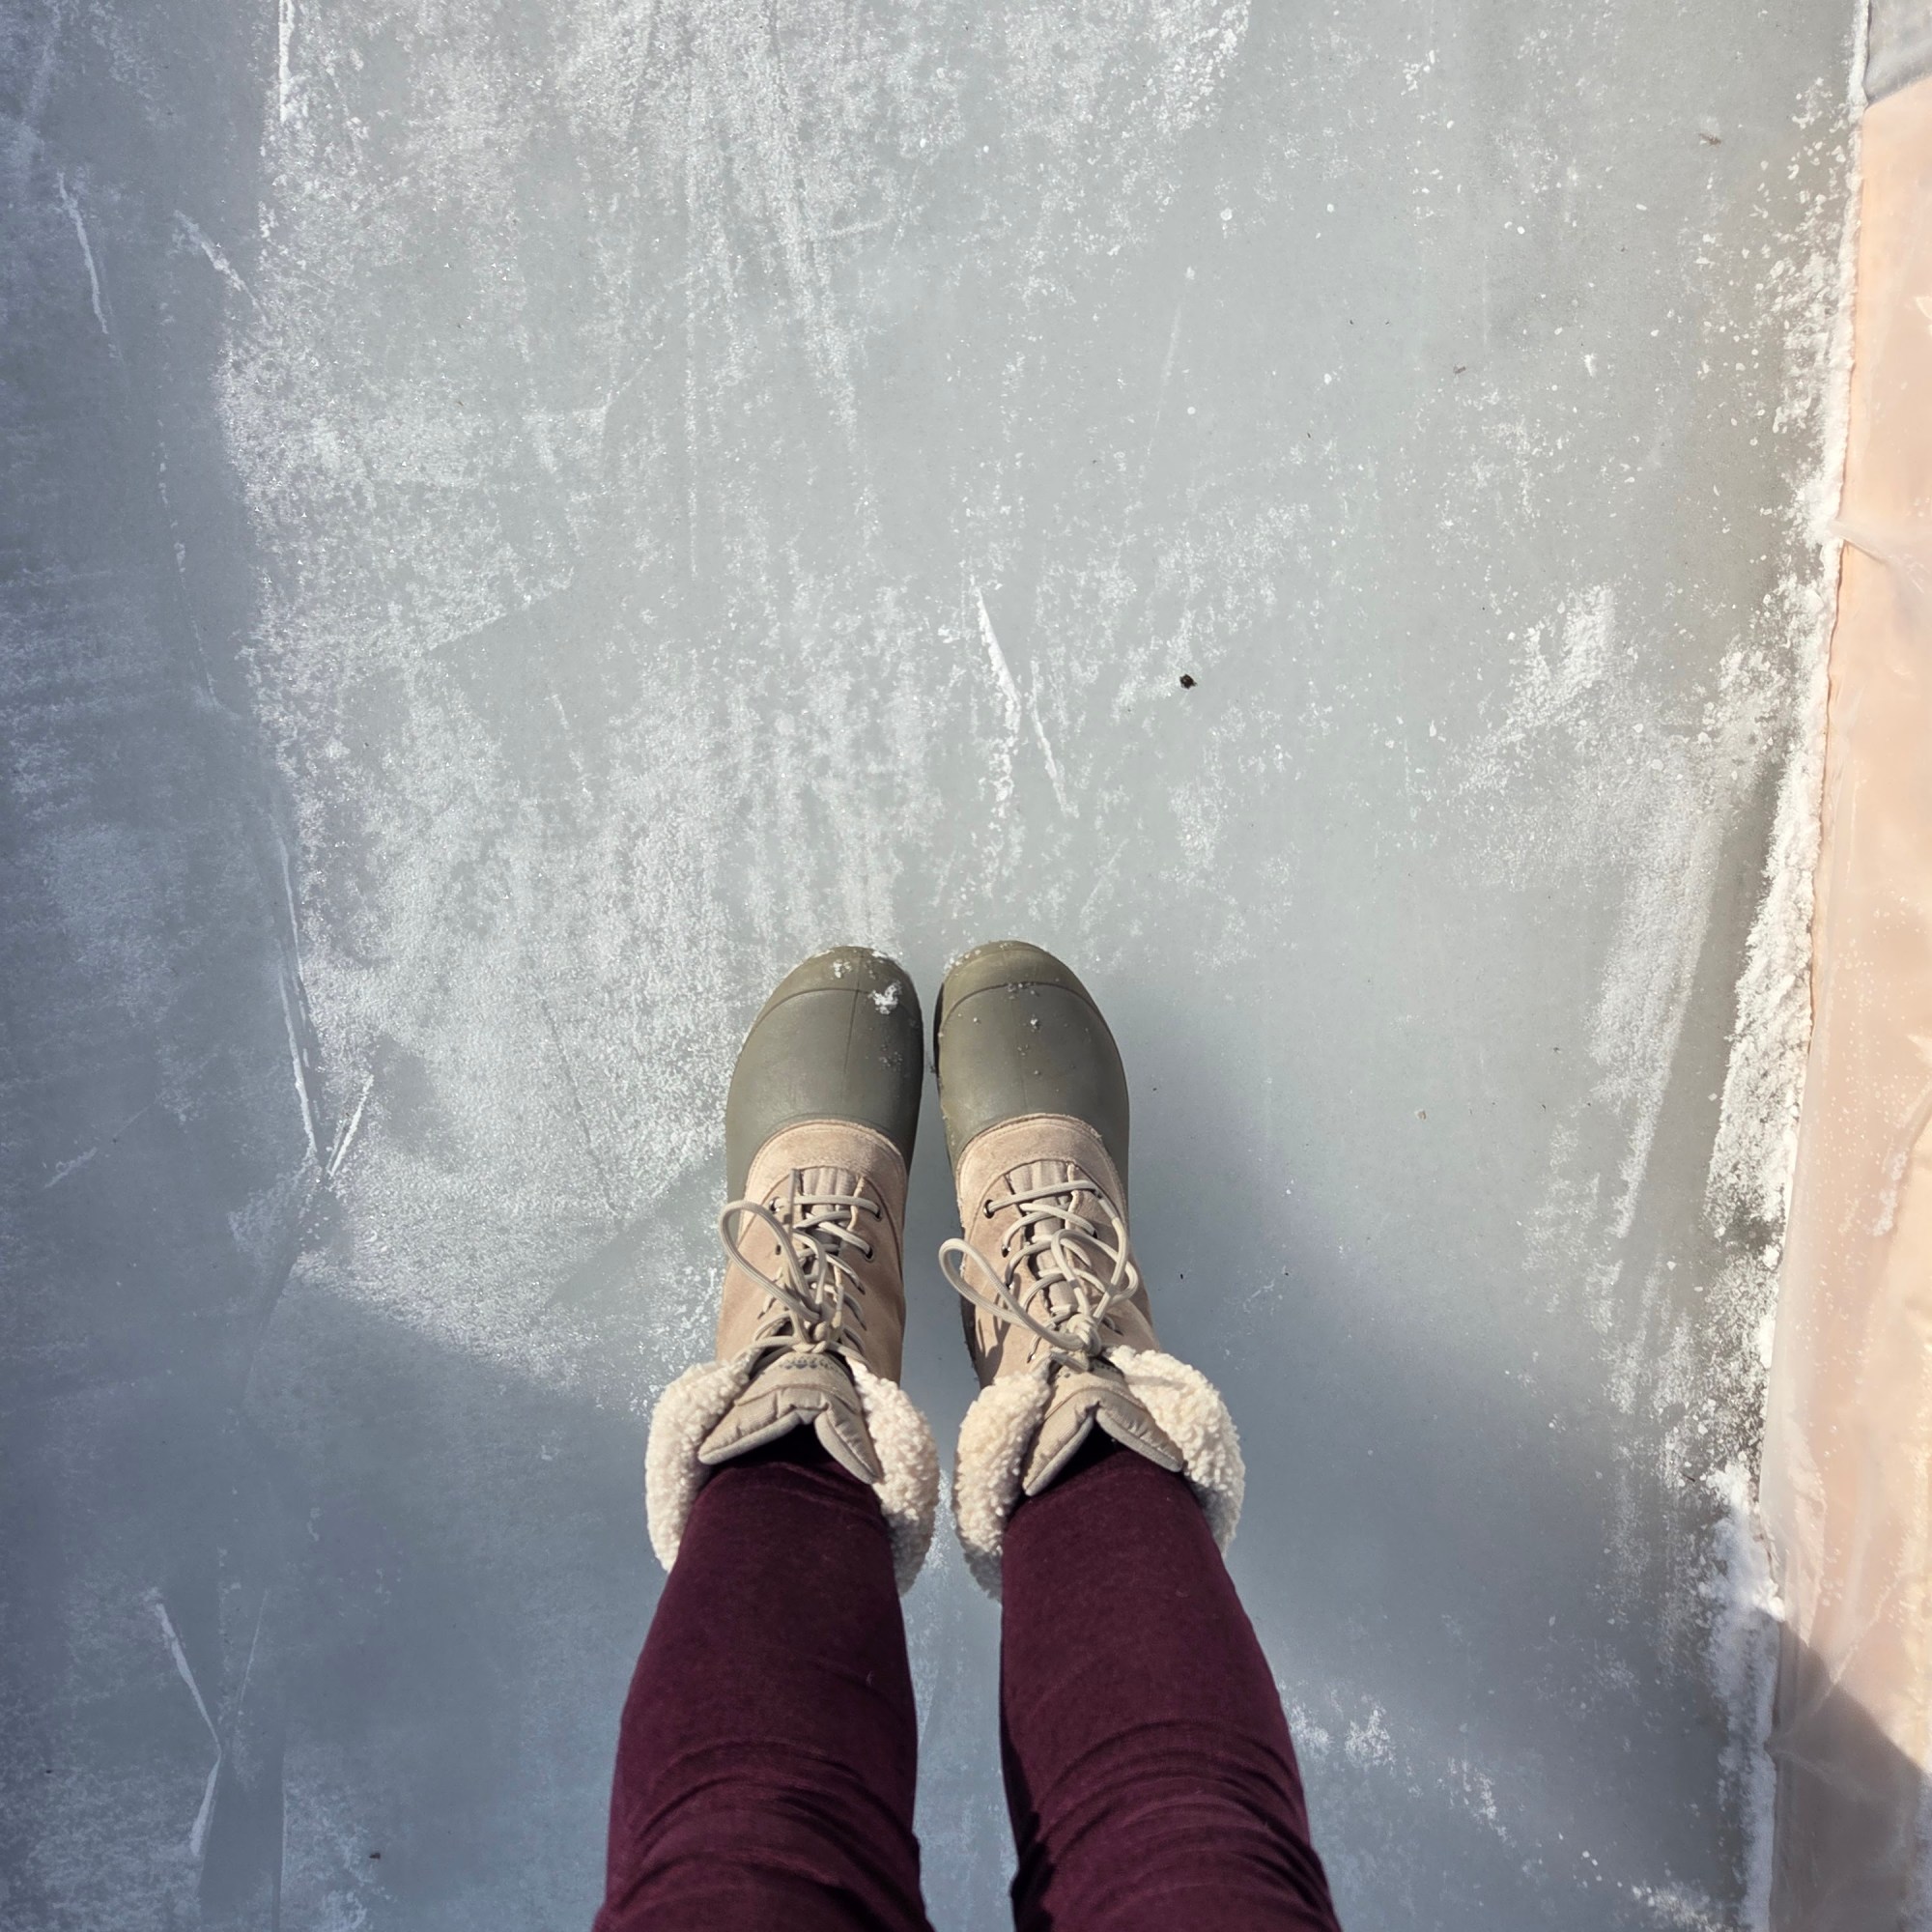
Leaves are NOT our friends – clear them off every day – otherwise they will melt the ice and create tripping hazards.
After skating and as-needed shovel off the ice to make it clear. Then flood the ice with one pass over of the hose – just enough to put a thin coat of water on.

Lighting is a Gamechanger
It gets dark around 5 here – and also the coldest part of the day – so to enjoy the rink more – add lighting. Tip: hang extension cords high so they don’t get buried in snow.
ENJOY THE TRAIL! ❤

Leave a comment